
modifications > Whiteline Front Sway Bar
Why did you put Whiteline front sway bar on your RS?
Most factory stock vehicles will not have an optimal suspension for racing applications due to set criteria on NVH and cheap budgets set by the corporate bean counters. The general public doesn't want a harsh ride, yet the weekend racing enthusiast wants better handling and performance from their newly purchased vehicle. Who wants a land yacht feeling with tons of body roll while trying to negotiate an autox slalom? Not this guy.
Case in point are front & rear sway bars on the Focus RS. Although Ford had a decent setup for the RS there is always room for improvement. In steps Whiteline to make things better. Whiteline has earned a rich history of developing proven suspension components that have served motorsports participants and enthusiasts well on a worldwide scale.
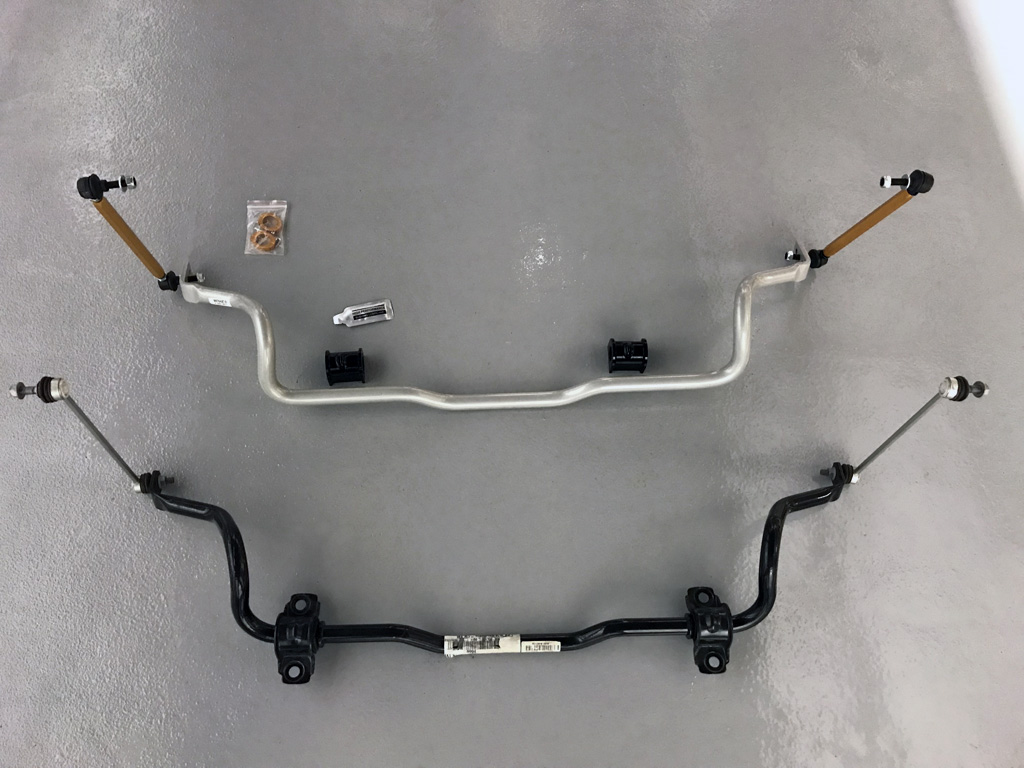
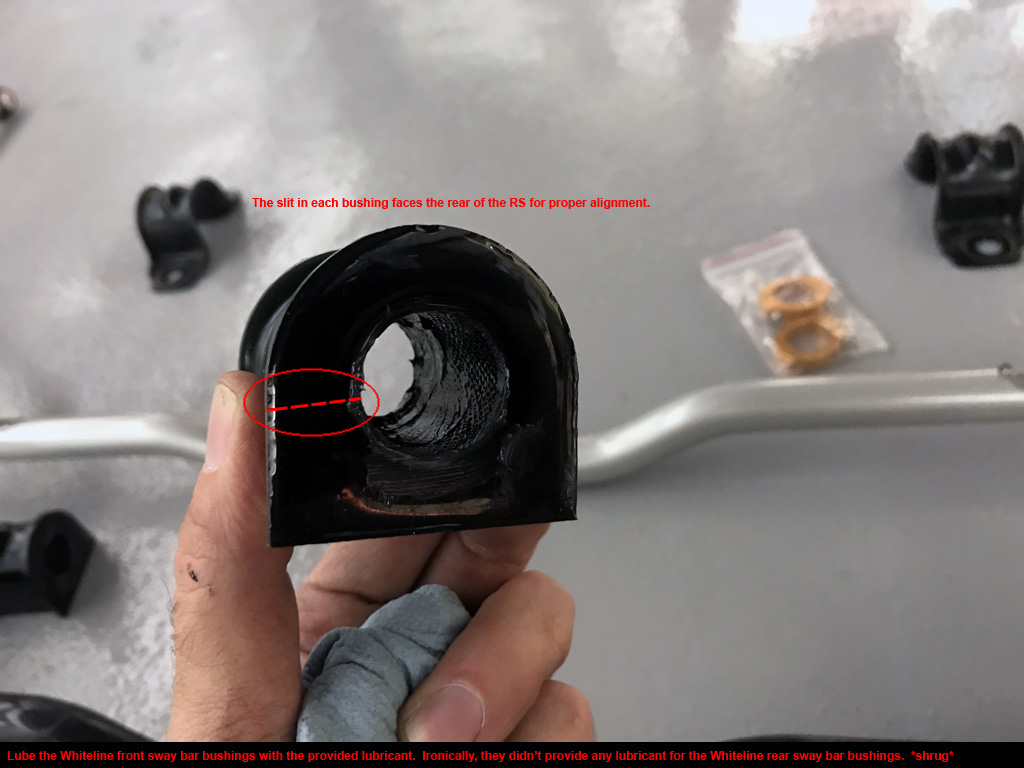
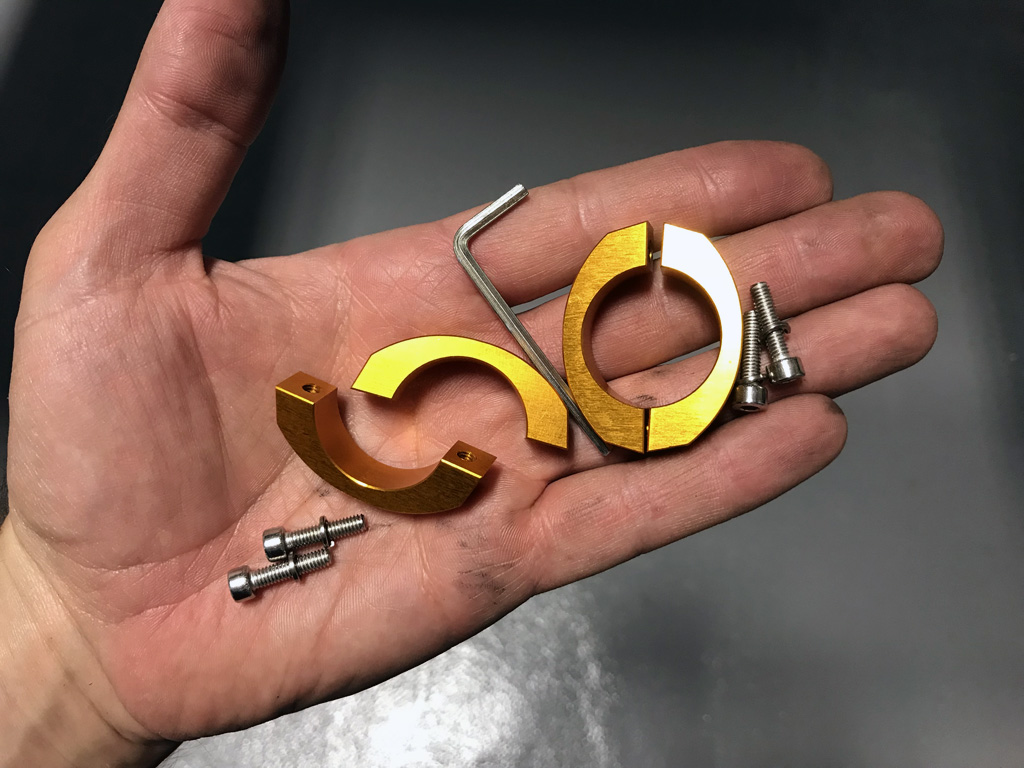
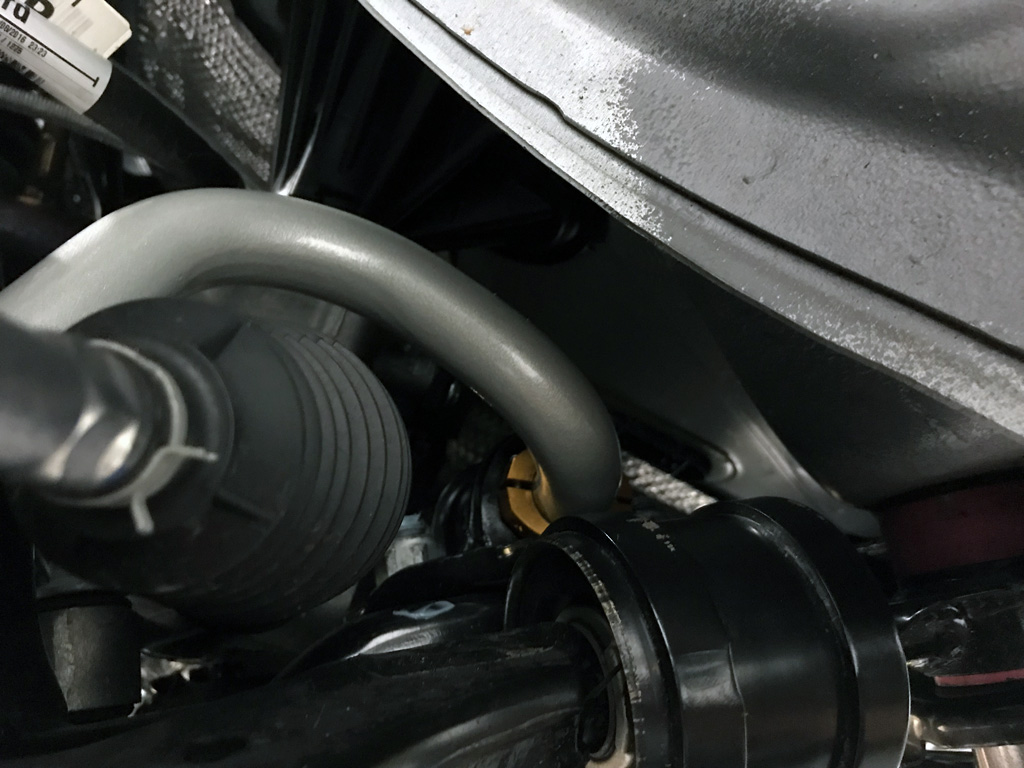
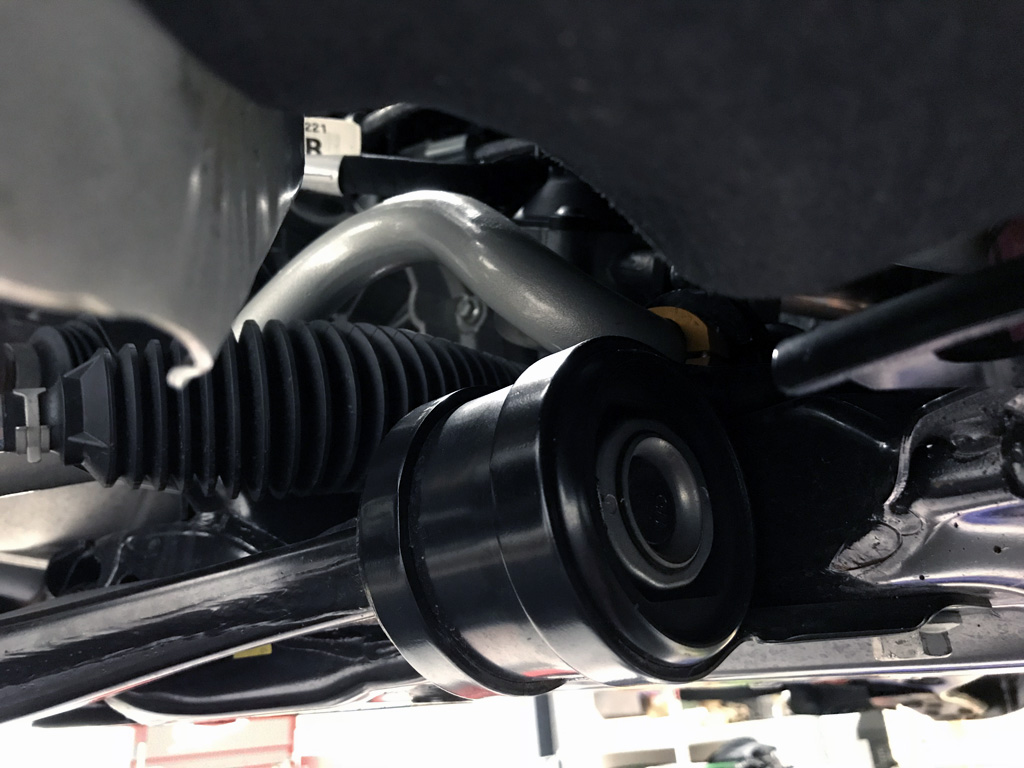
I chose the Whiteline Sway Bar Kit that features Whiteline's 26mm front sway bar with 3-point adjustable provisions to suit the driver's driving preference or suspension setup, and it also includes the 22mm rear sway bar with 2-point adjustability. These sway bars will reduce body roll, and lateral loads and spread the load more evenly across the tires which will result with improved grip and better performance for those weekend track events or spirited backroad adventures. Both sway bars come with premium end links, bushings, as well as hardware to make these sway bars ready for installation.
Date Completed:
05/27/18
Materials:
- Whiteline F/R Sway Bar kit (Rallysportdirect.com)
- Sharpies to mark bolts for movement
- Permatex blue for bushing bolts
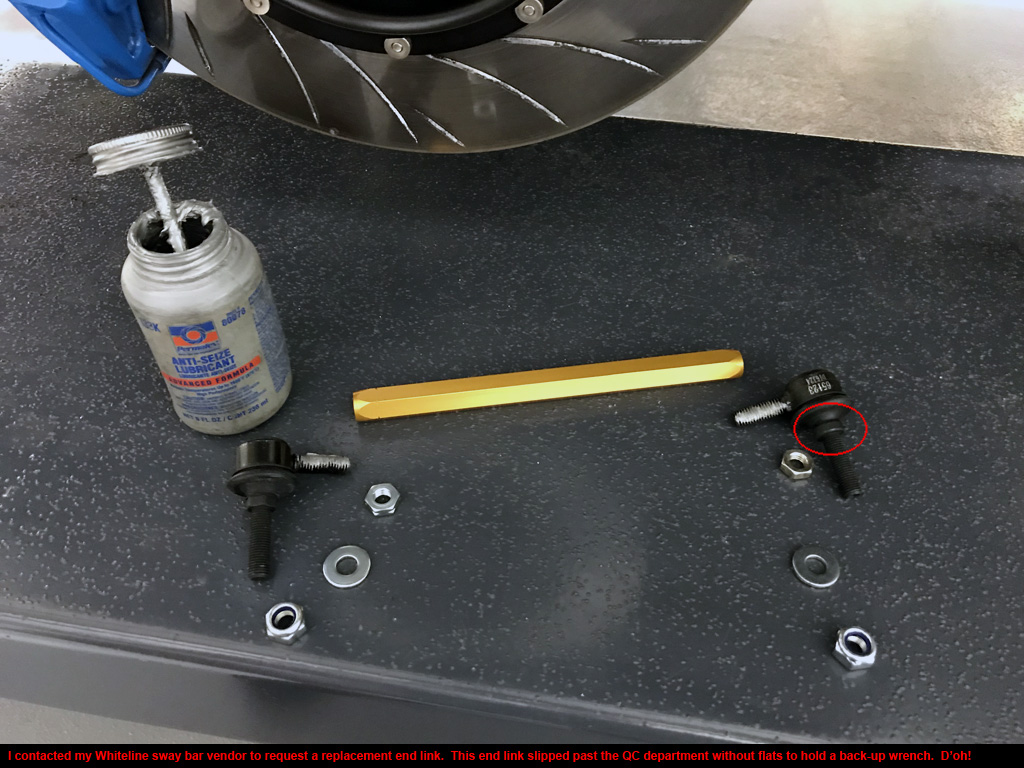
- Permatex Anti-Seize Lubricant for end link studs
Tools:
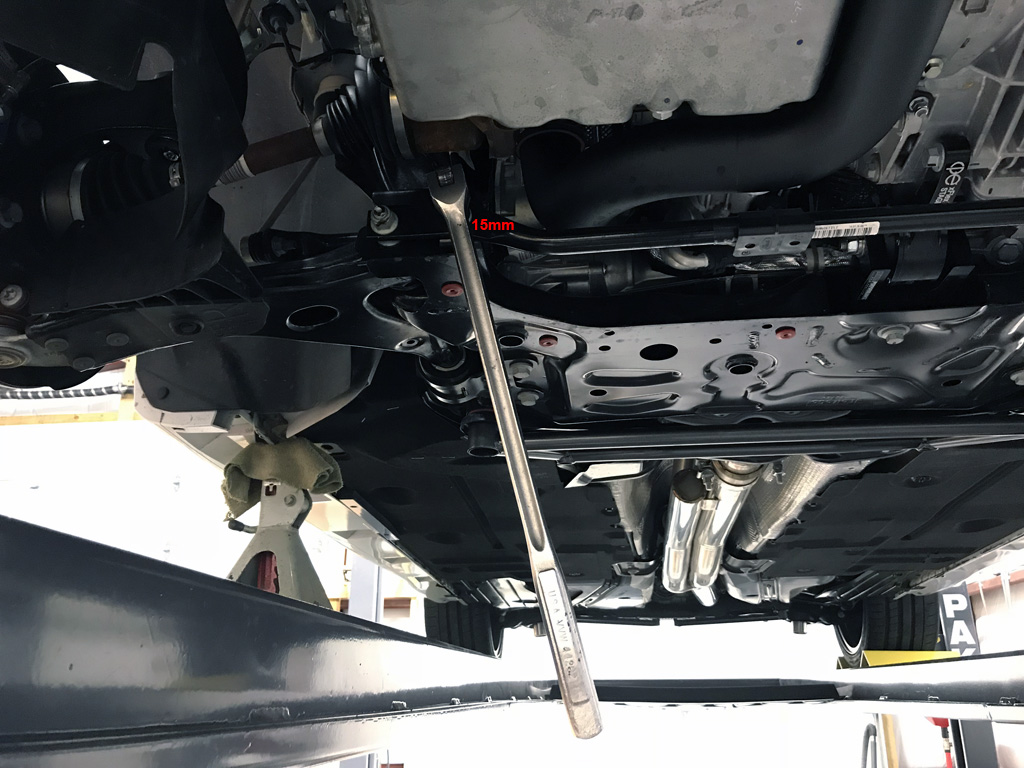
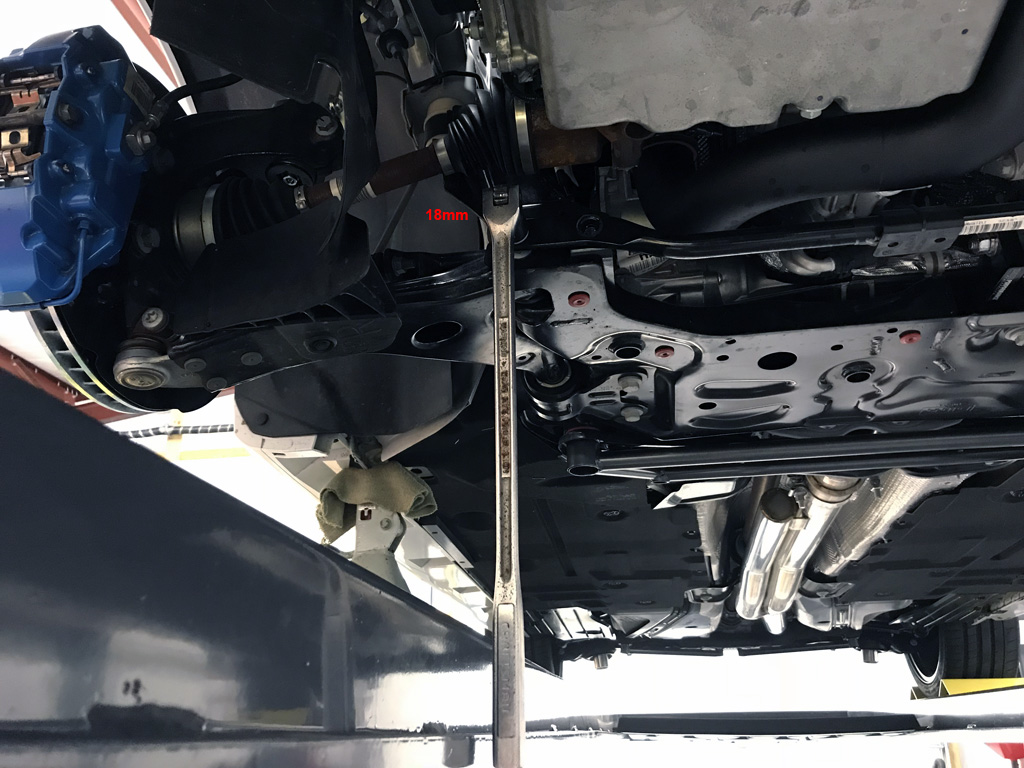
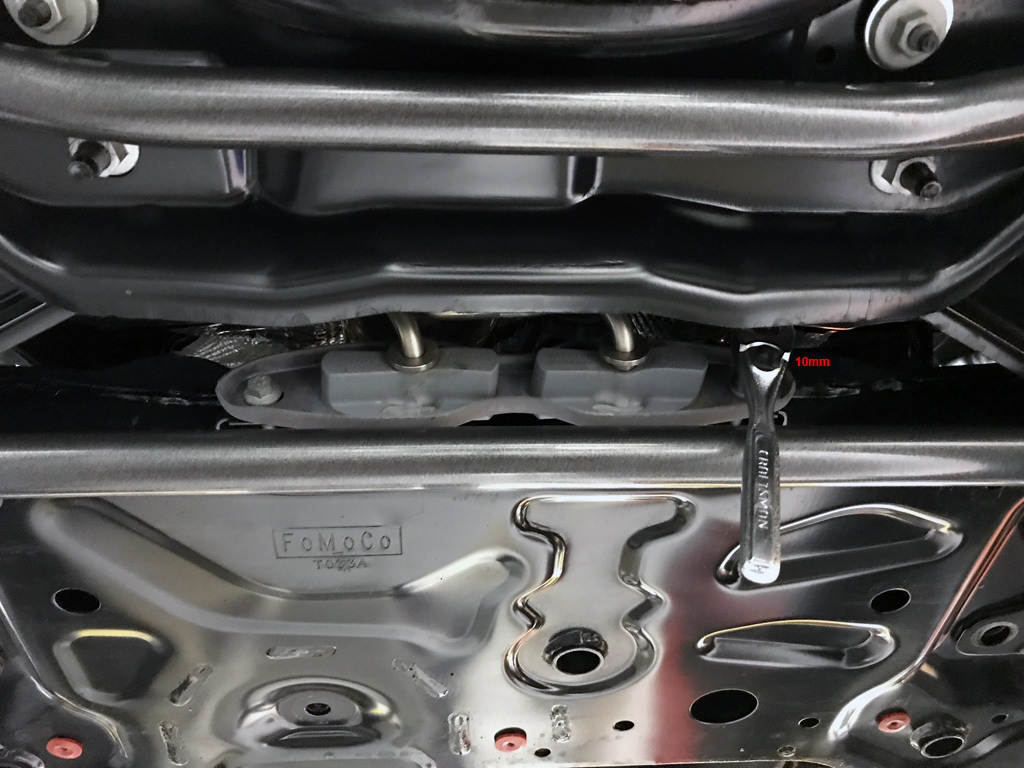
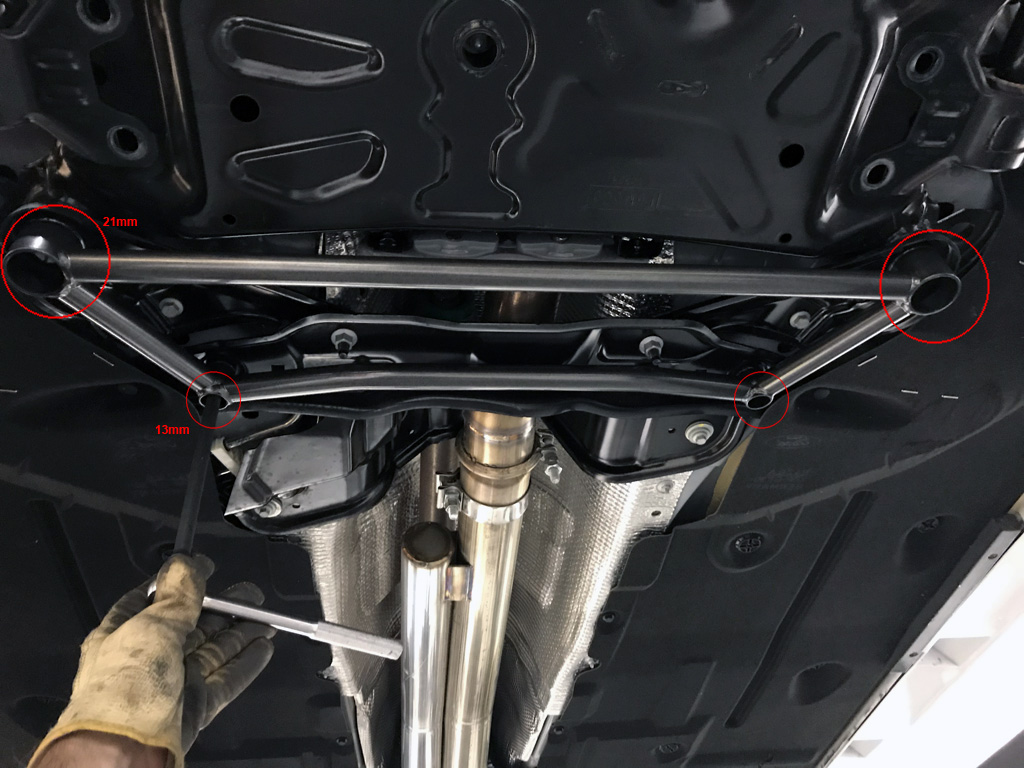
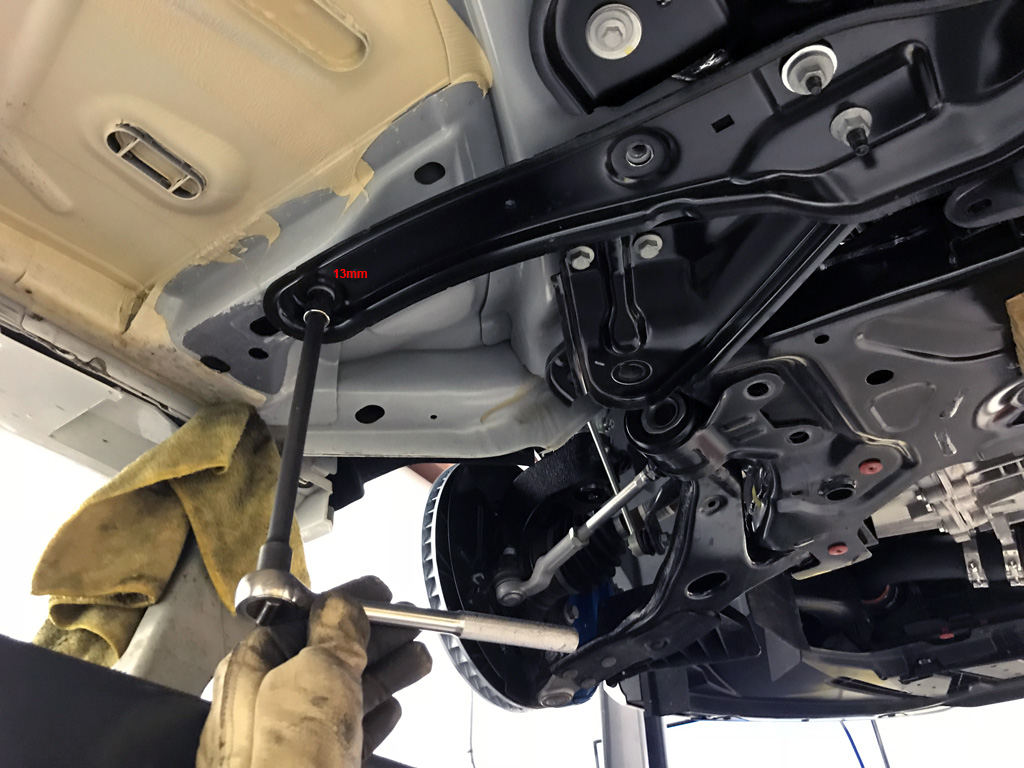
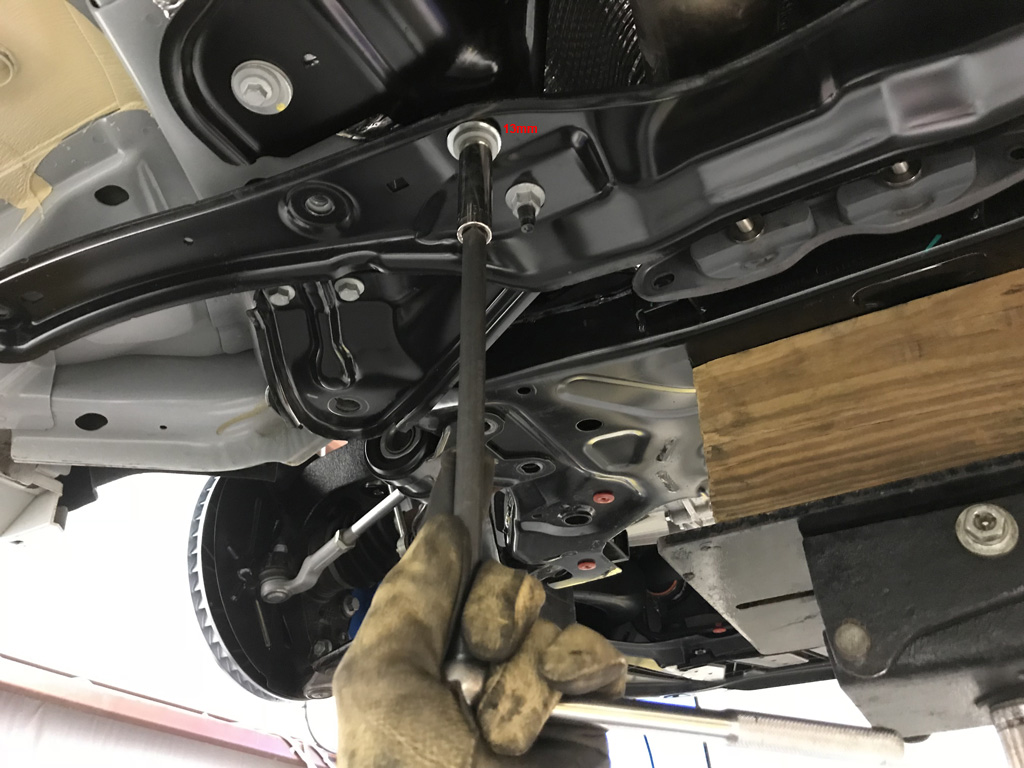
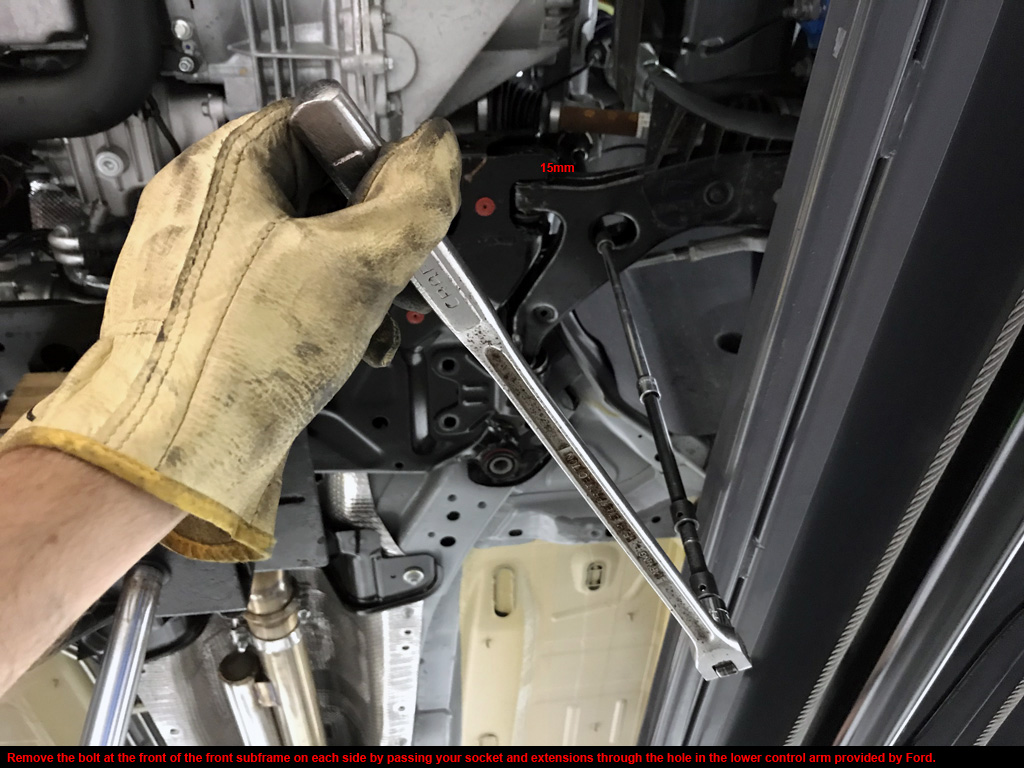
- 1/4" + 3/8" drive ratchets, various sockets (10mm, 13mm, 15mm, 18mm, 19mm, T25)
- 1/2" breaker bar and 1/2" to 3/8" socket adapter
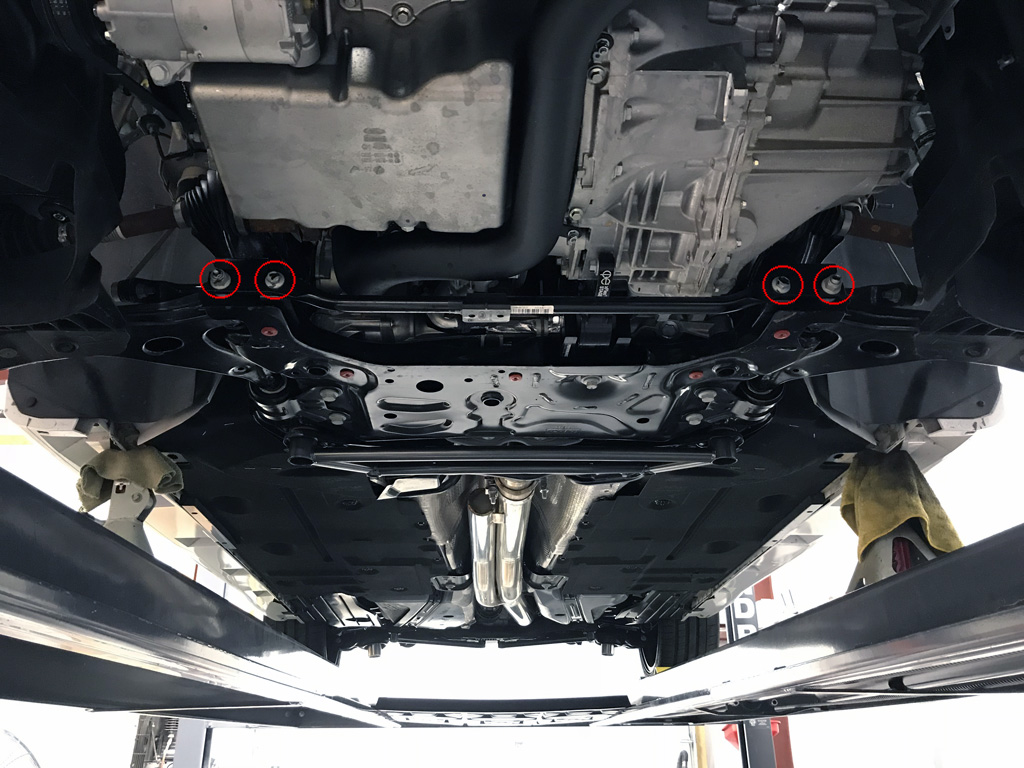
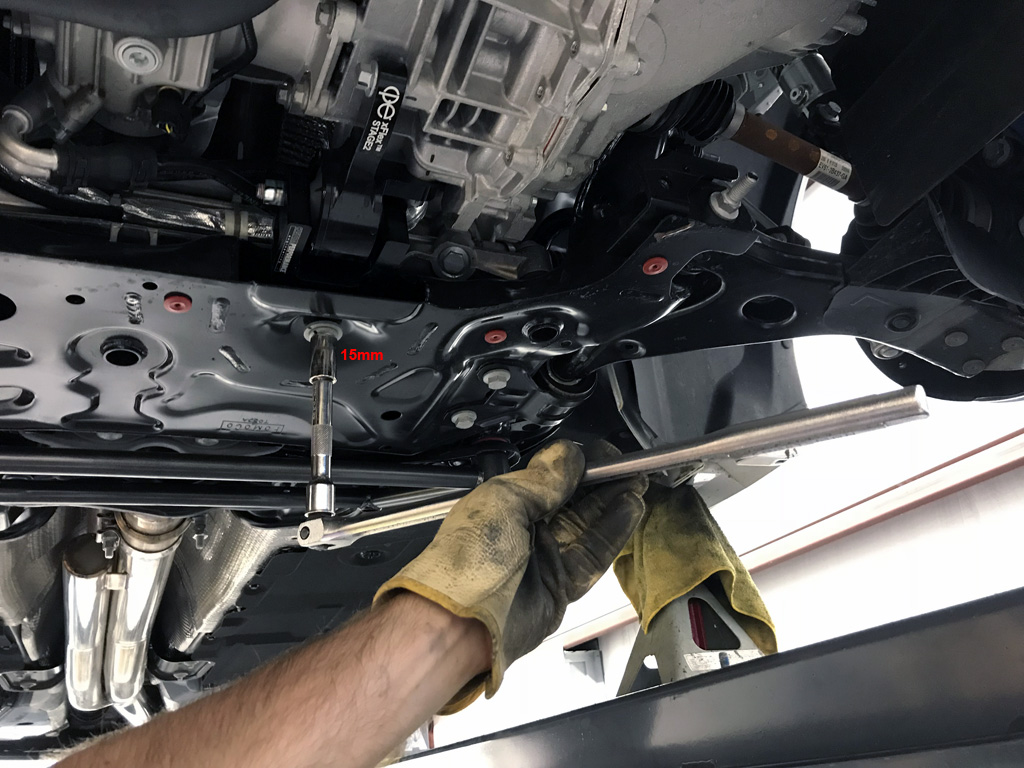
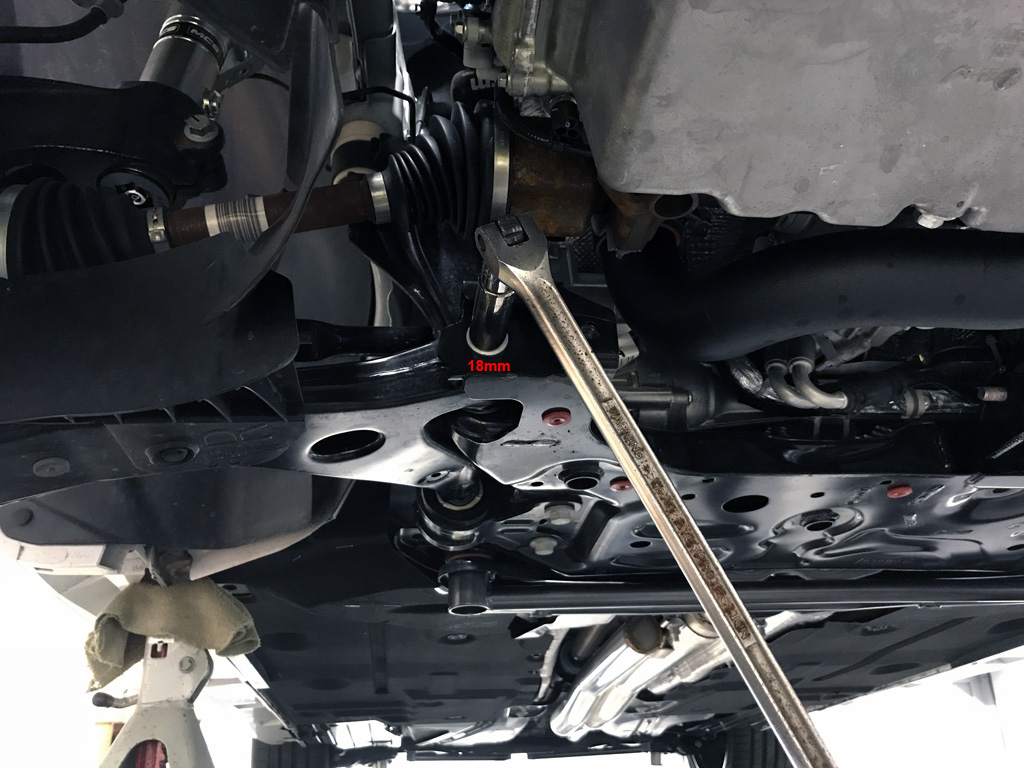
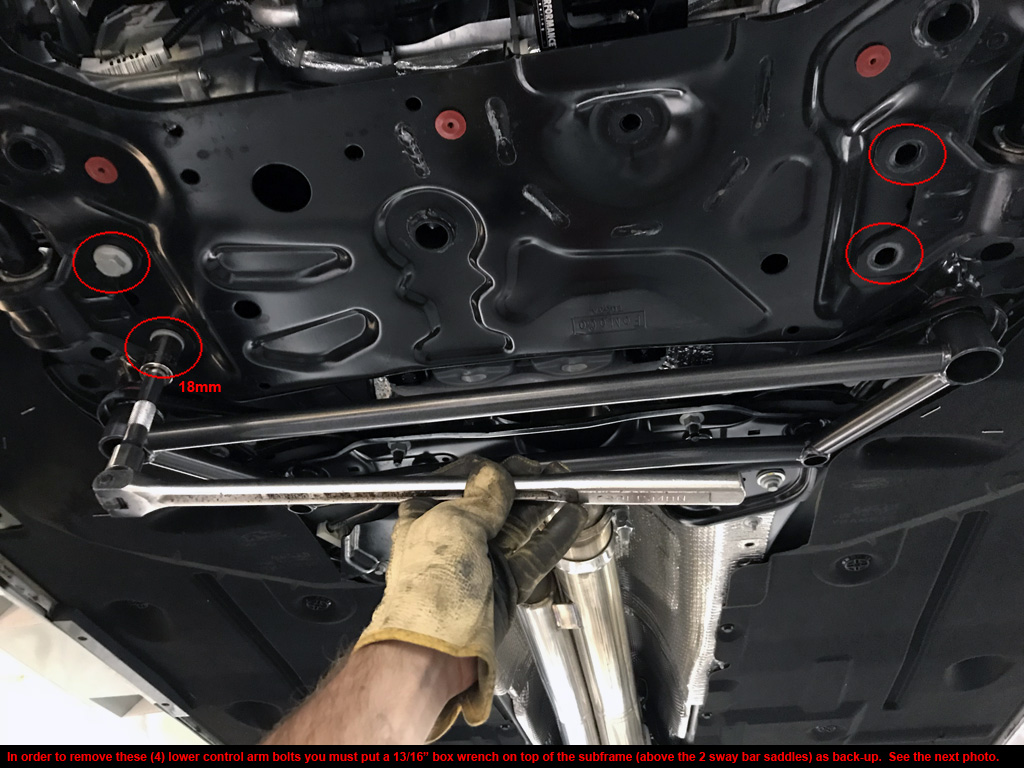
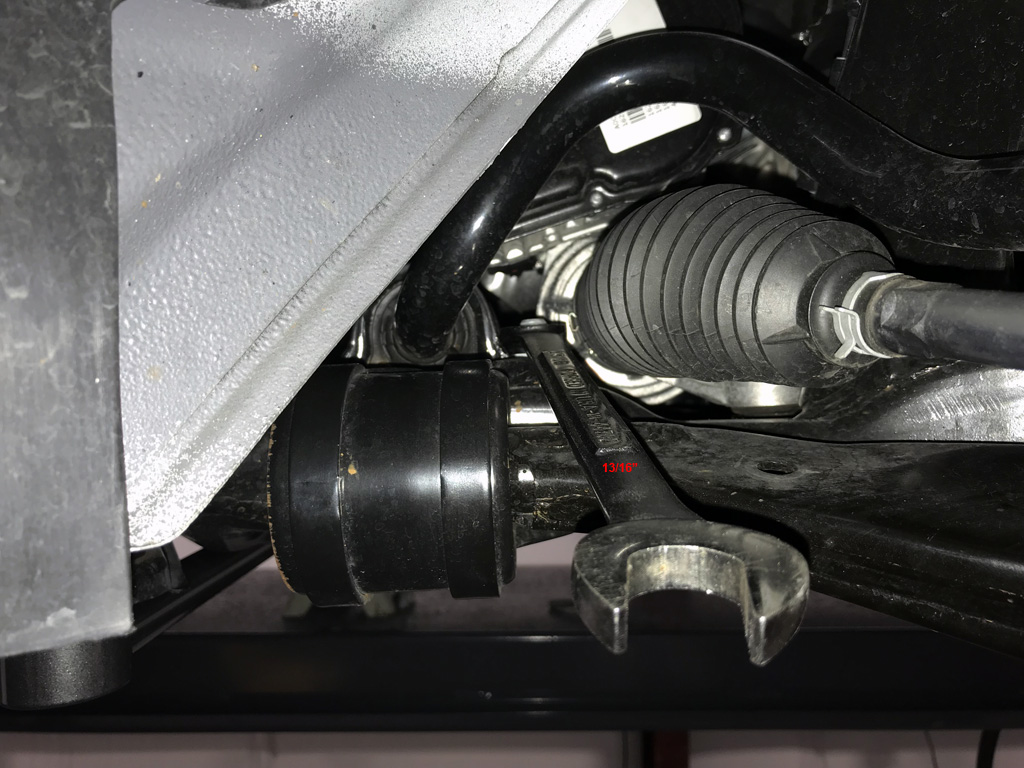
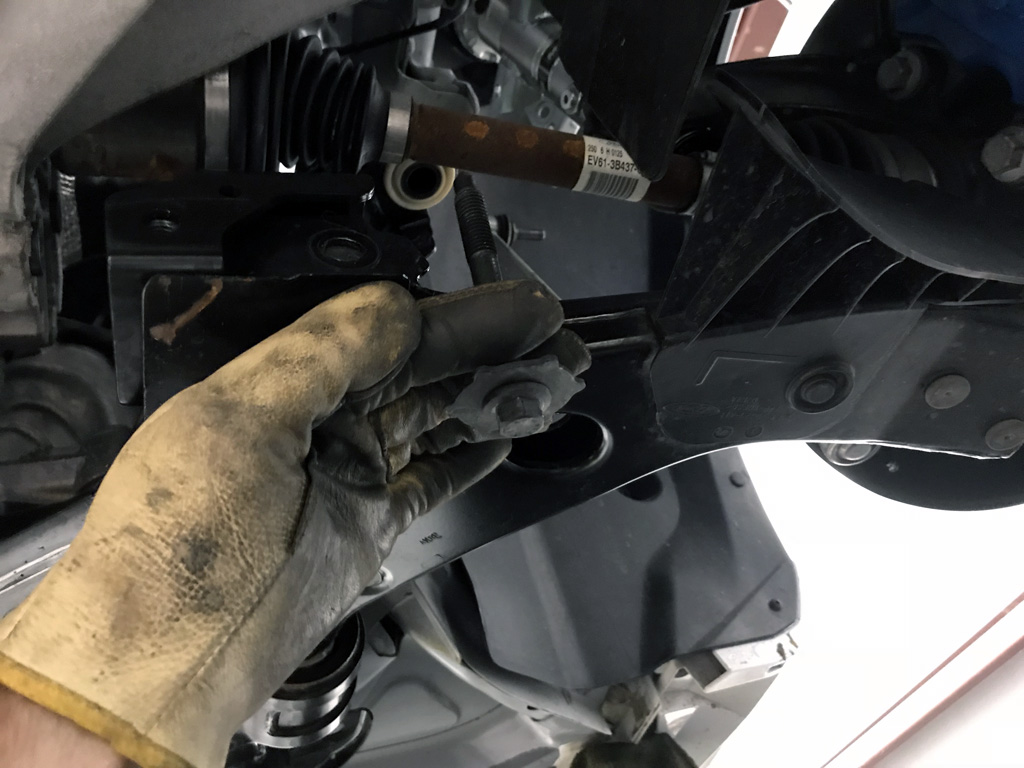
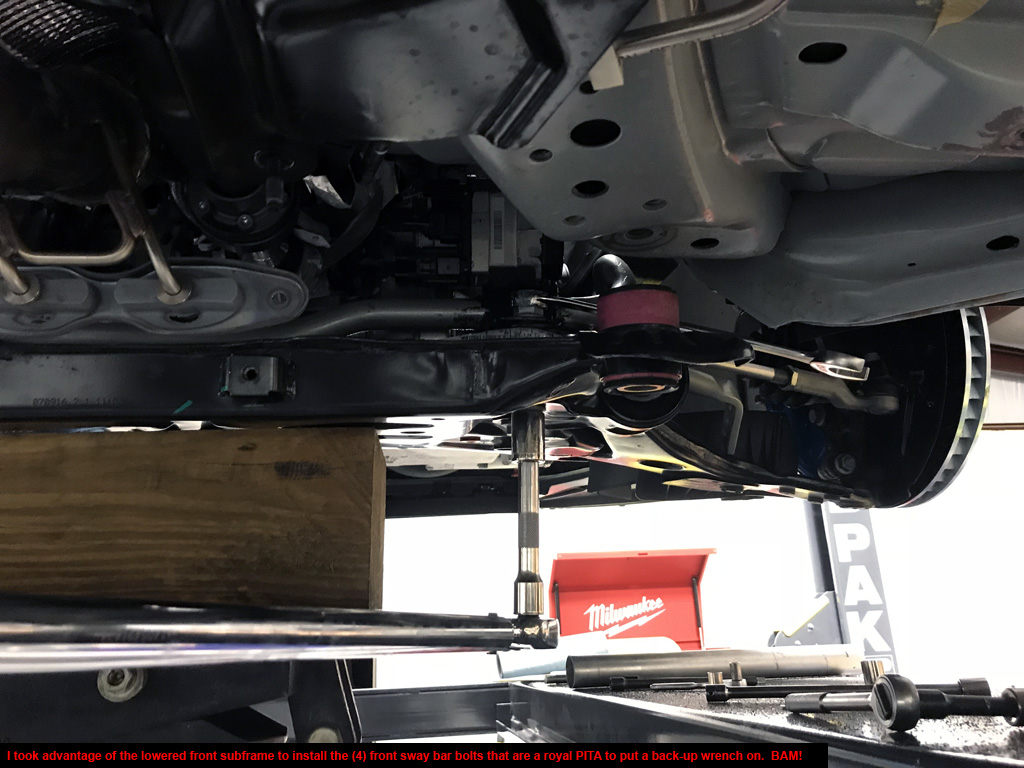
- 13/16" combination wrench for back-up on (4) lower control arm bolts (sway bar bushing saddles)
- Flat blade screwdriver to remove plastic clips
- Phillips screwdriver to remove middle undertrays
- 3/8" Torque wrench (35 lb-ft, 46 lb-ft, 53 lb-ft)
- 1/2" Torque wrench (80 lb-ft, 85 lb-ft, 103 lb-ft)
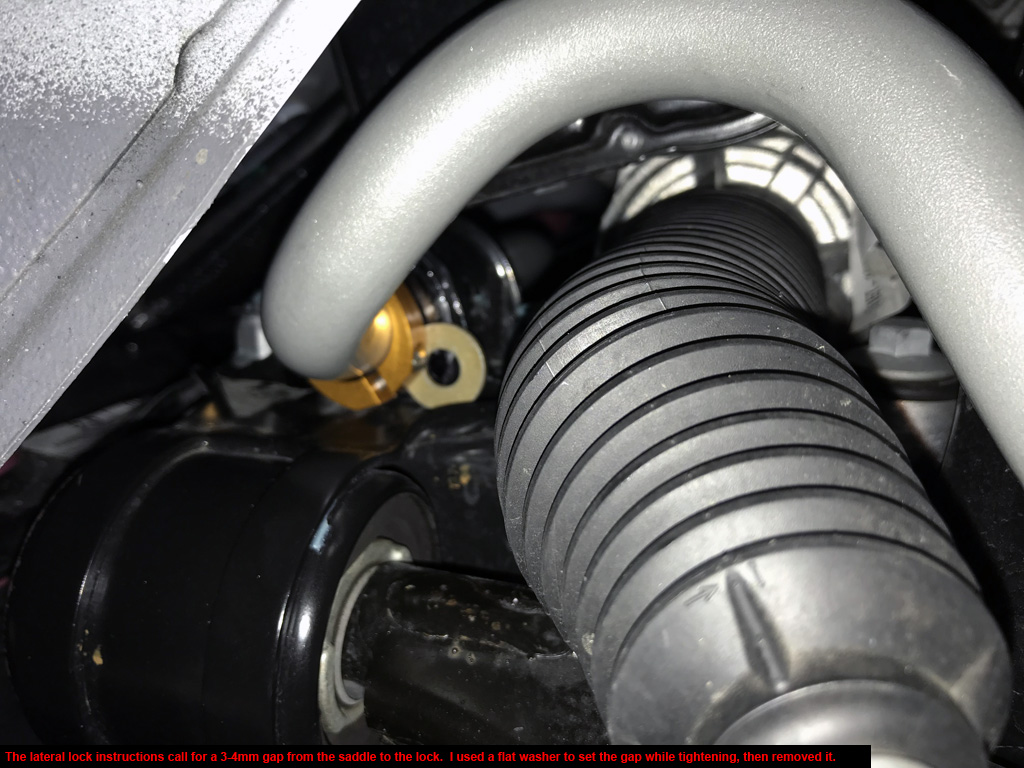
- Allen wrench for lateral locks (provided by Whiteline)
- 9,000 lb 4-post lift (optional, but highly recommended!)
- xxxx lb transmission jack (optional, but highly recommended!)
*A friend for moral support is always optional. If friend isn't available Pandora will suffice.
Notes:
1. Install takes about 2-3 hours or so (unless you are on vacation and installing the MCS suspension at the same time). I took my time because of taking pictures for this website.
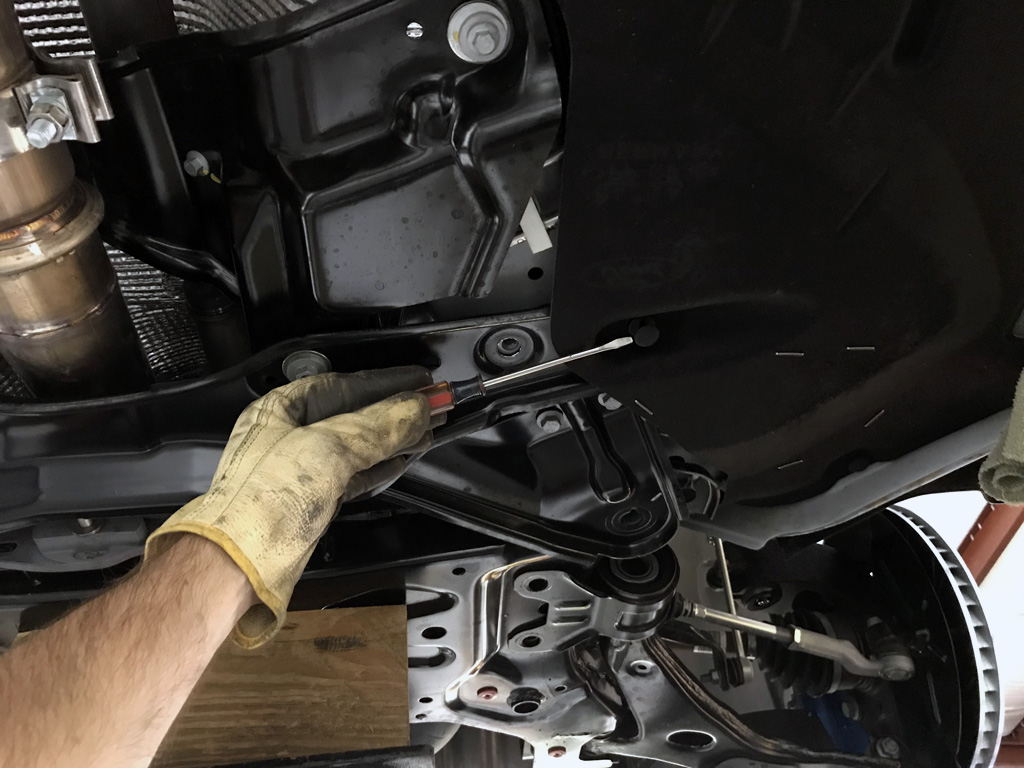
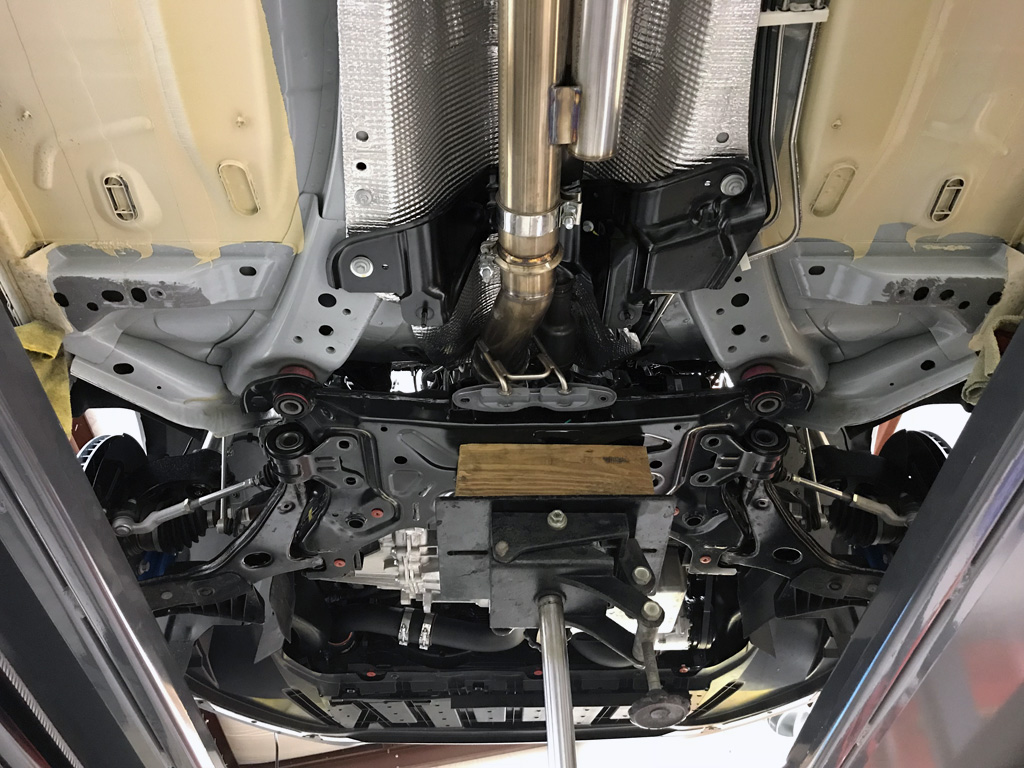
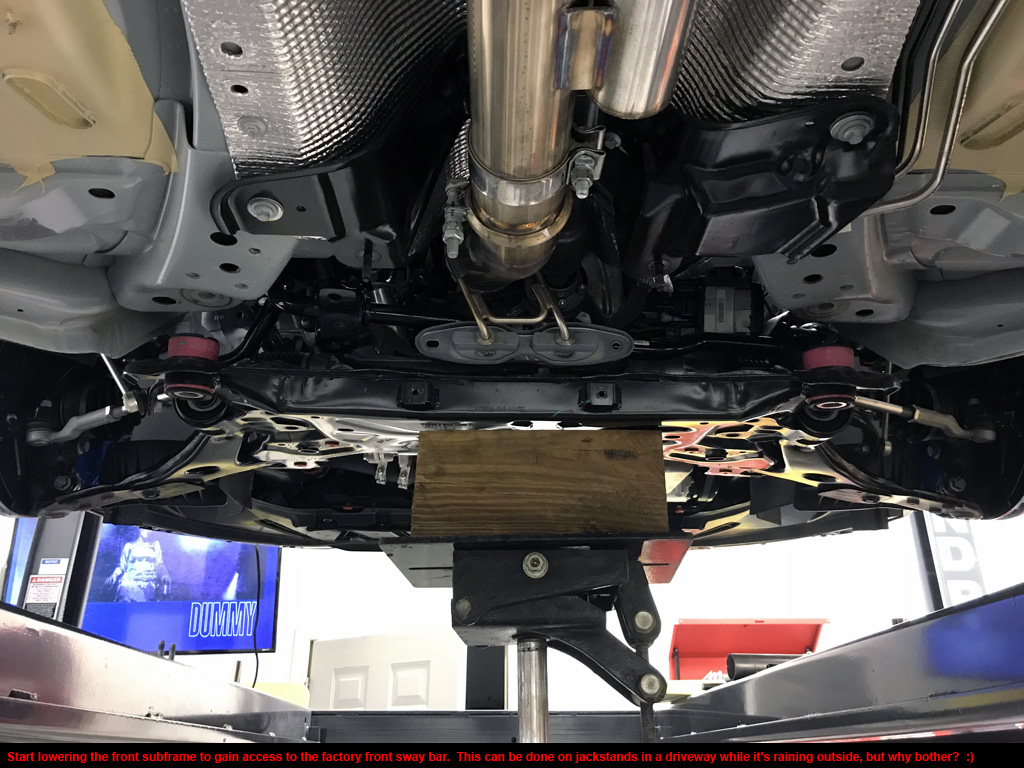
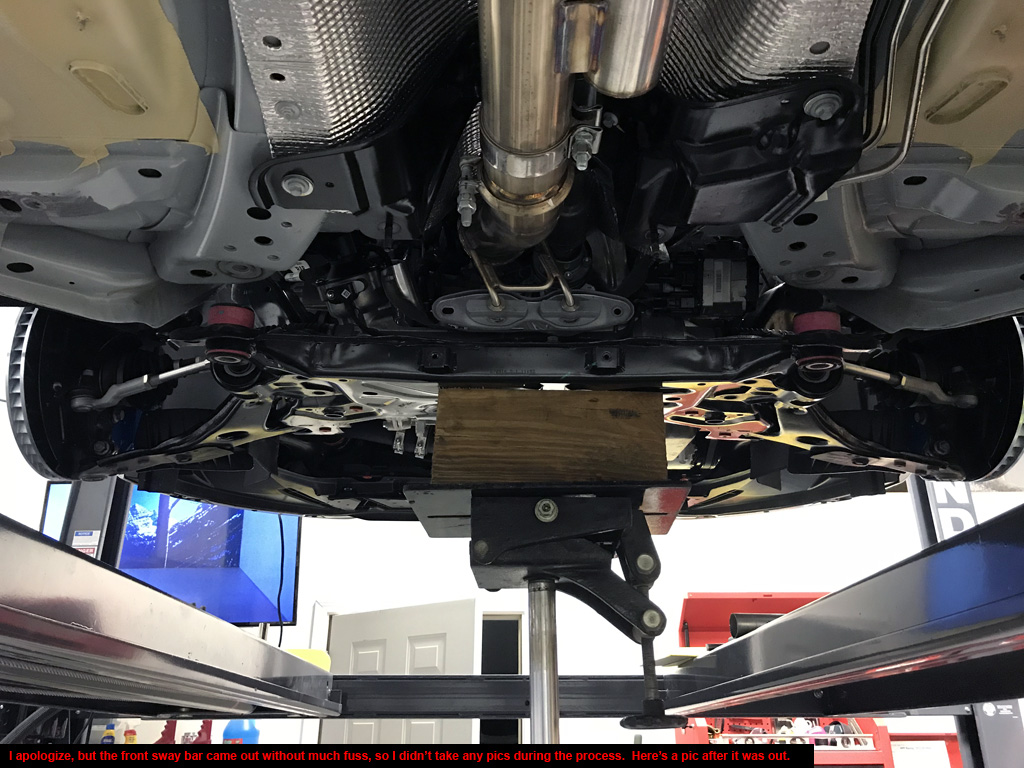
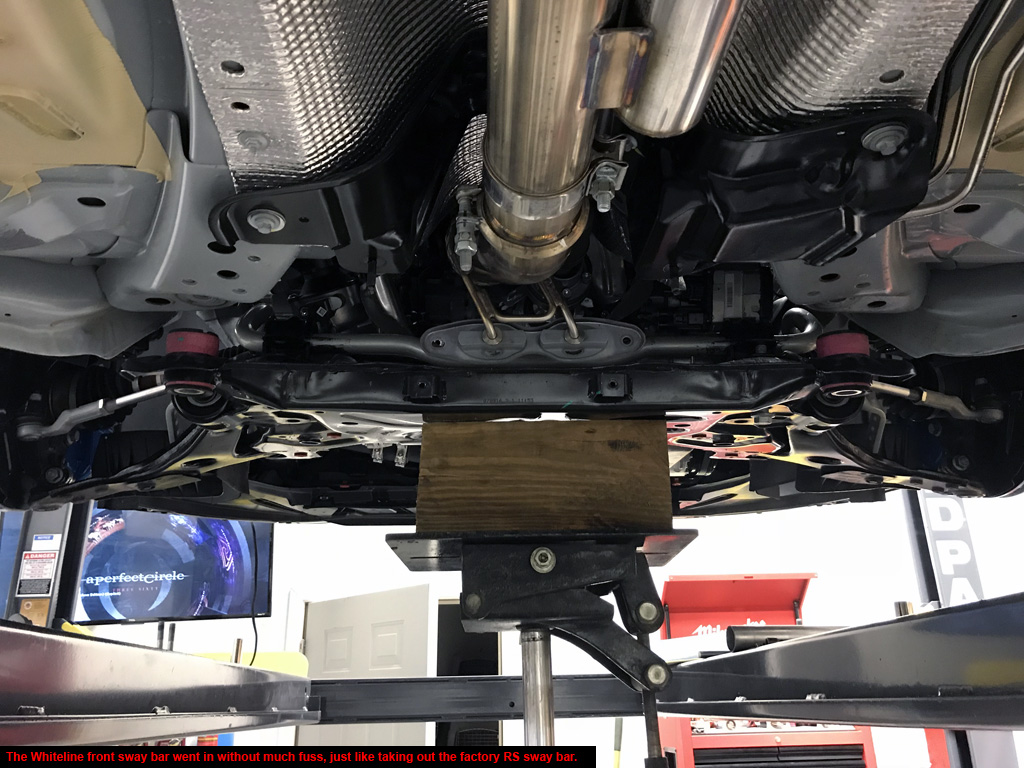
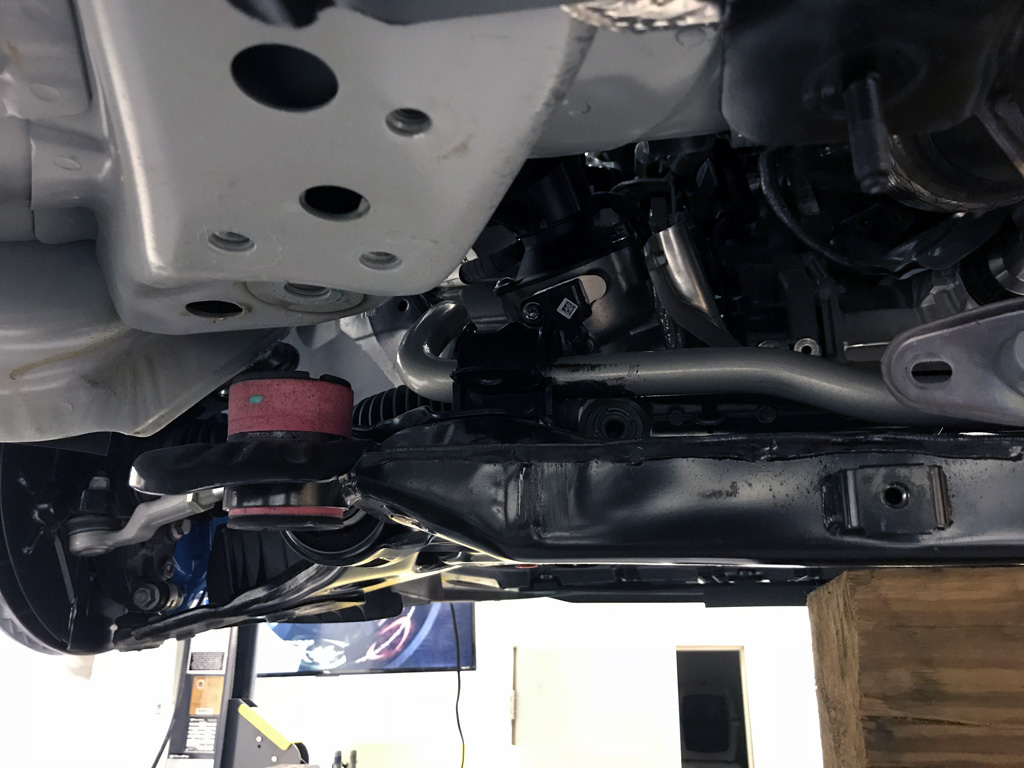
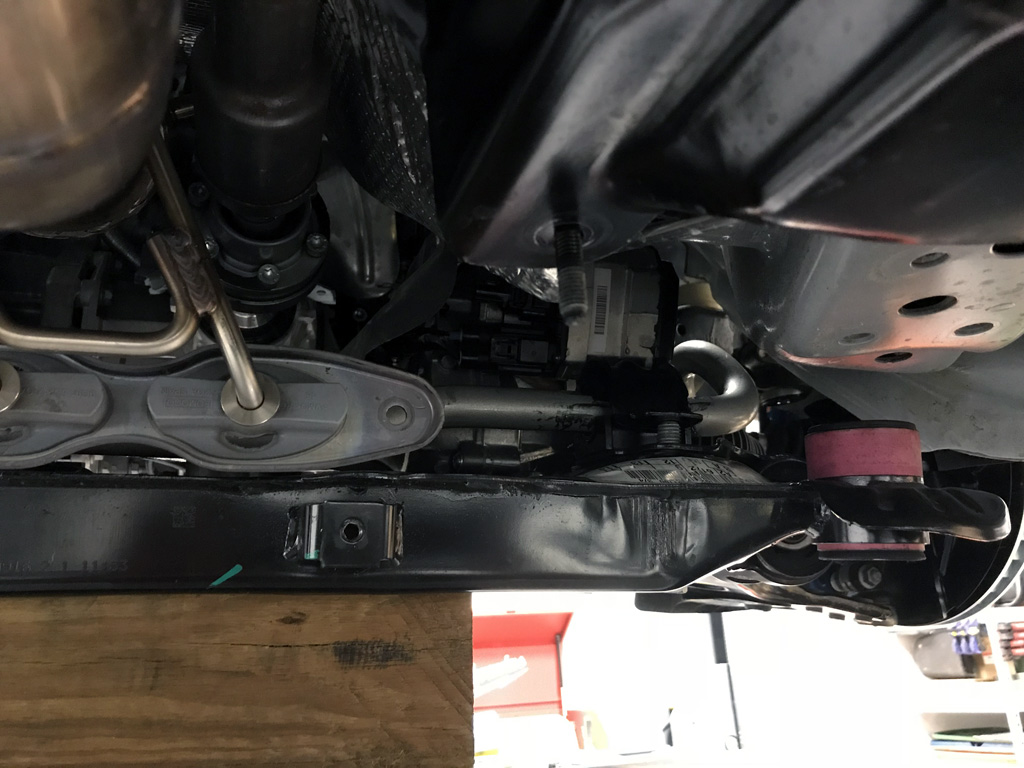
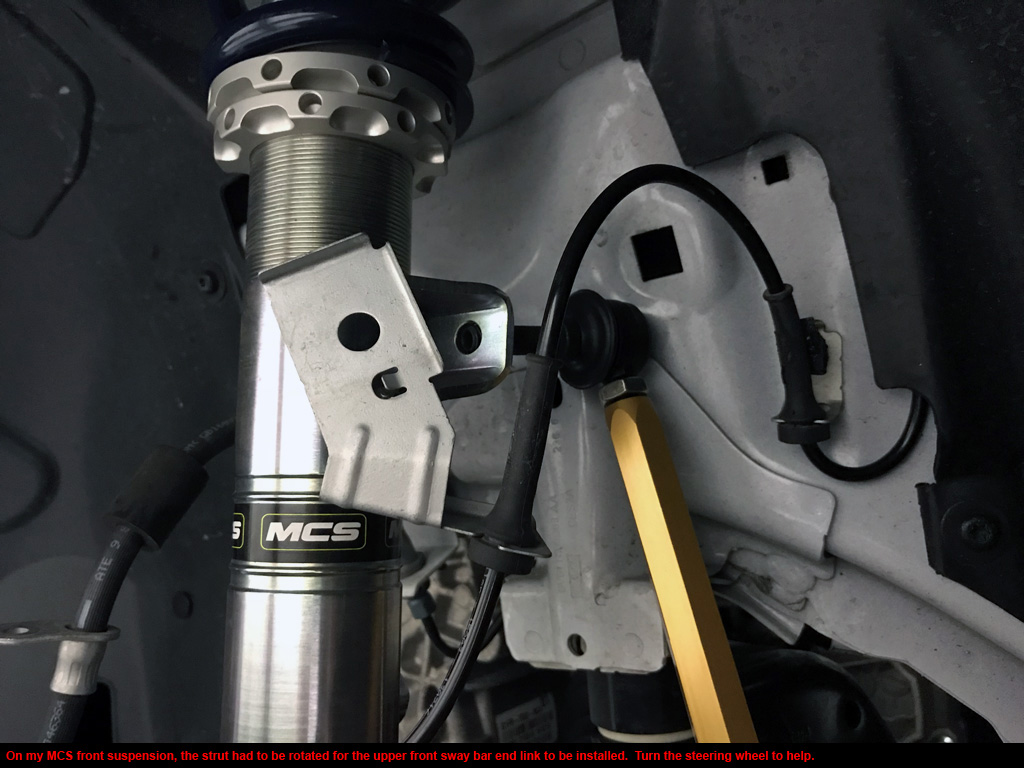
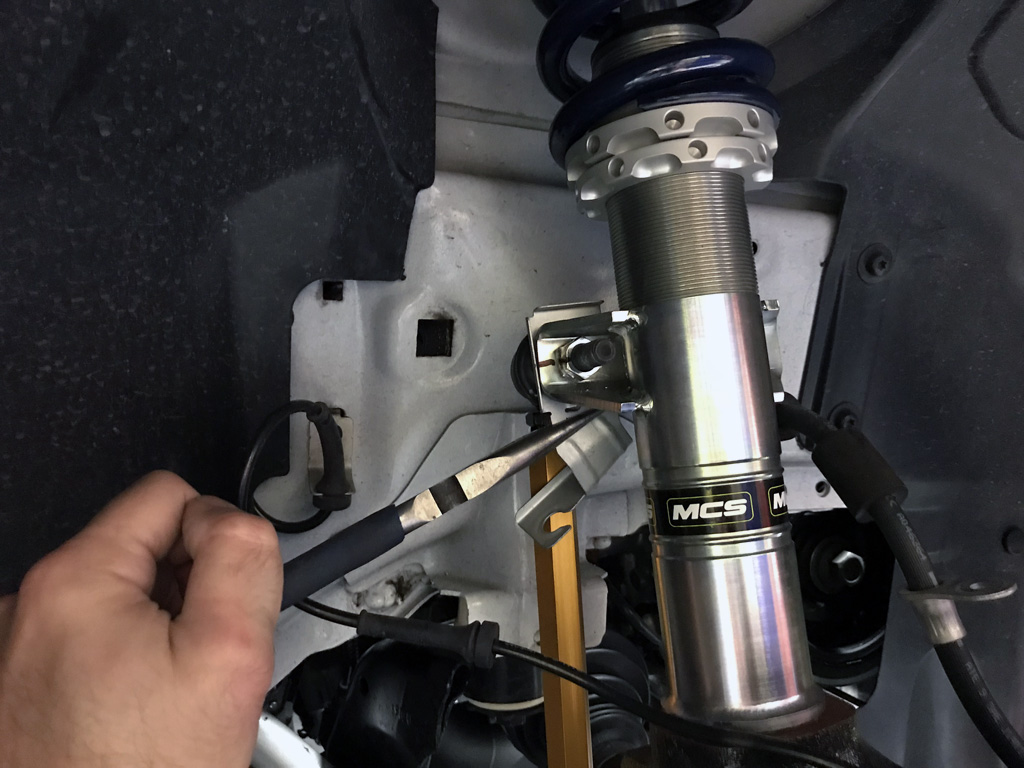
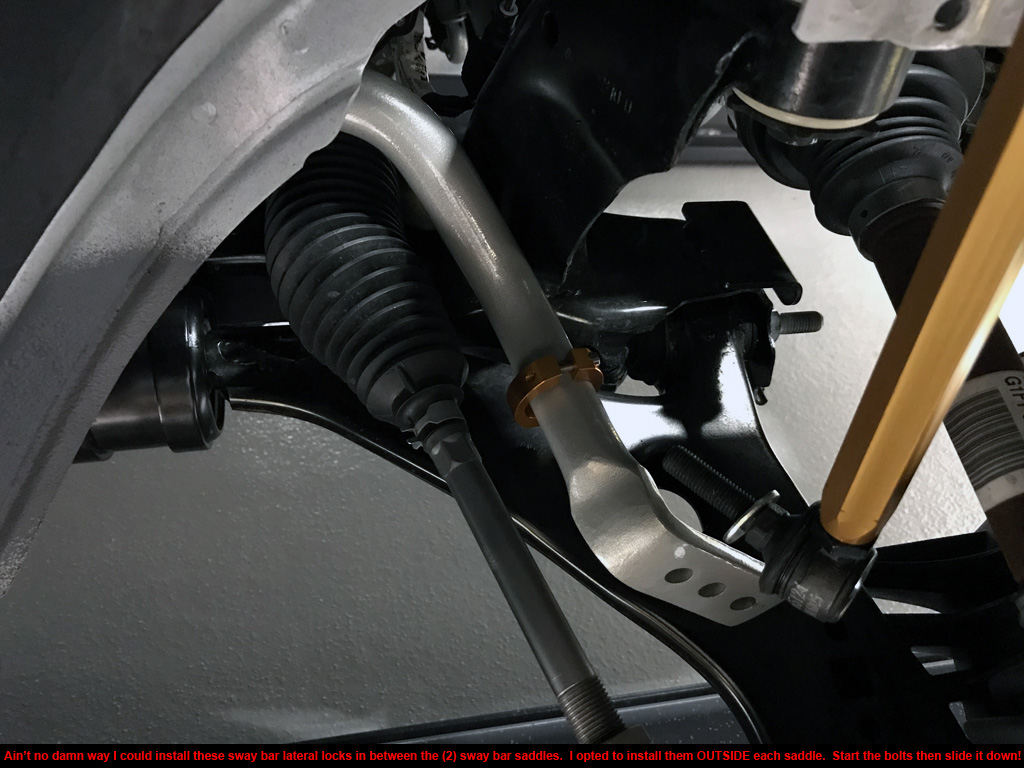
2. The front sway bar swap is a royal PITA. The rear is very easy un-bolt, swap old for new.
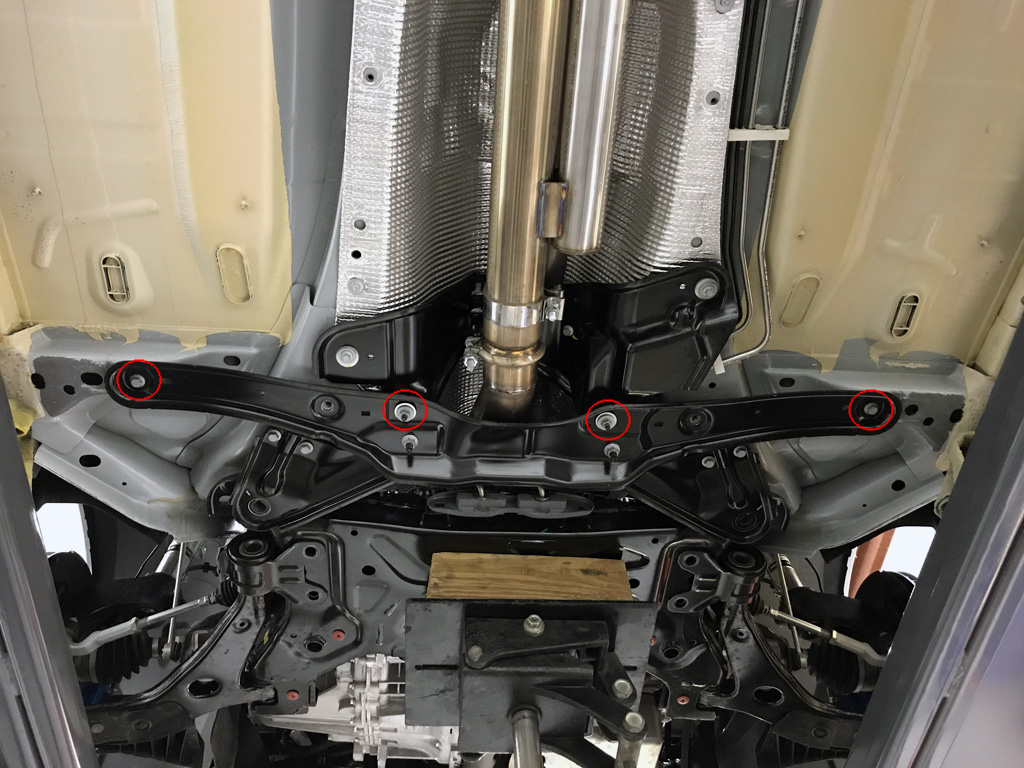
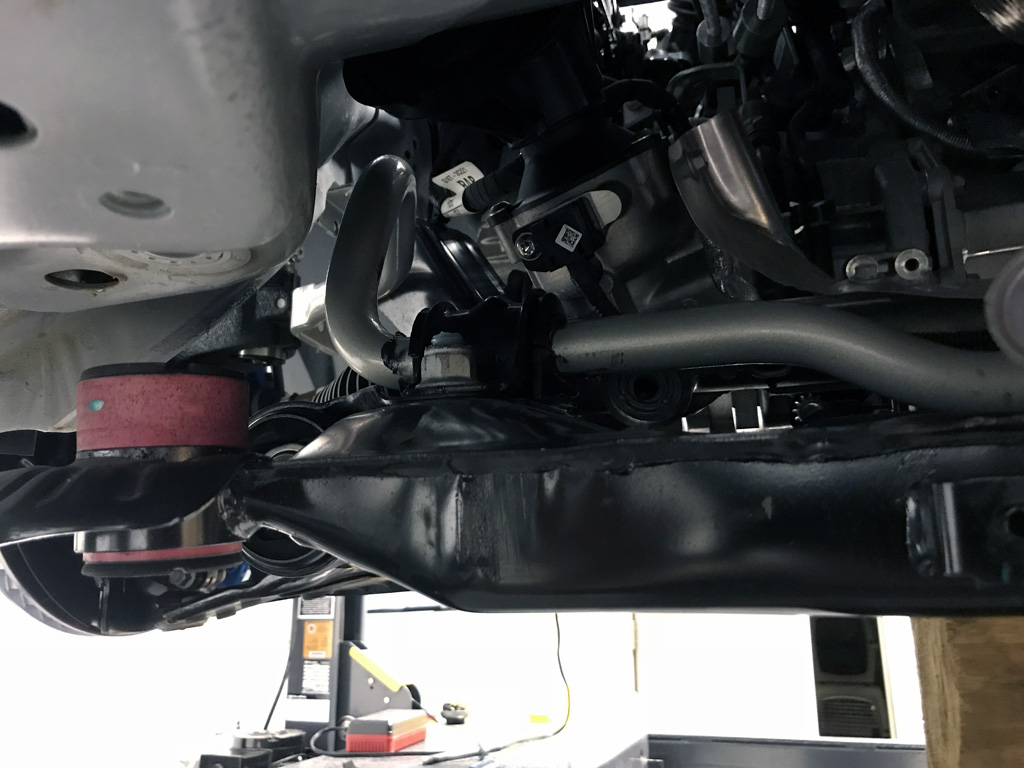
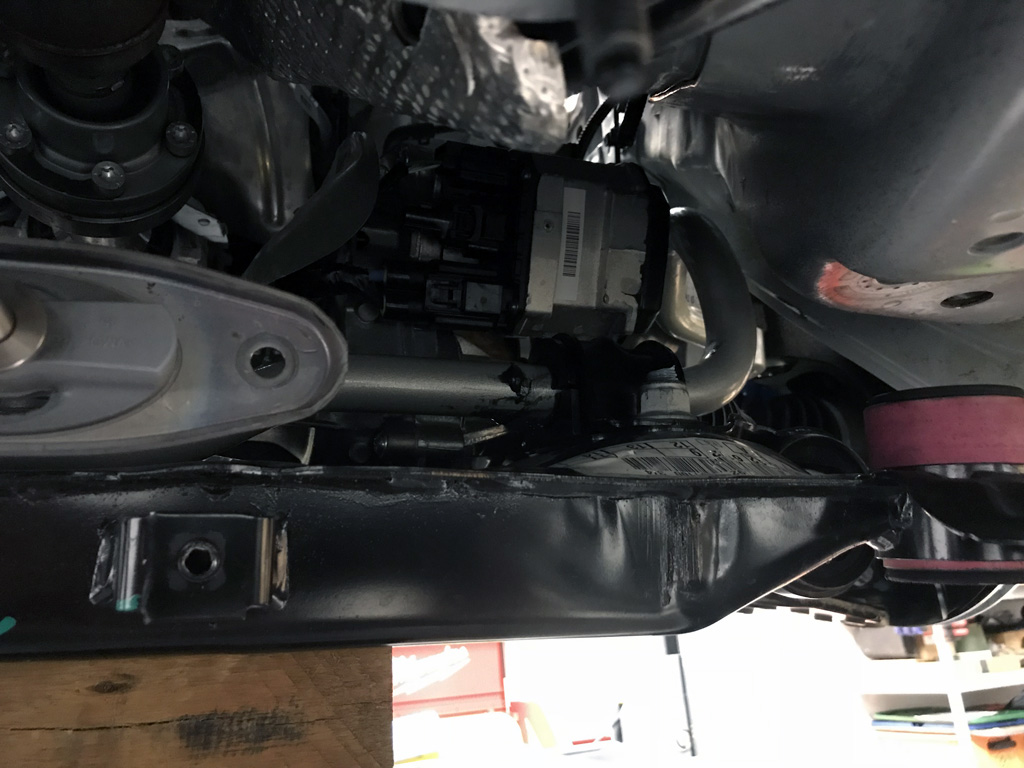
3. Undertray removal is required.
4. No wiring plugs need to be disconnected for this swap.
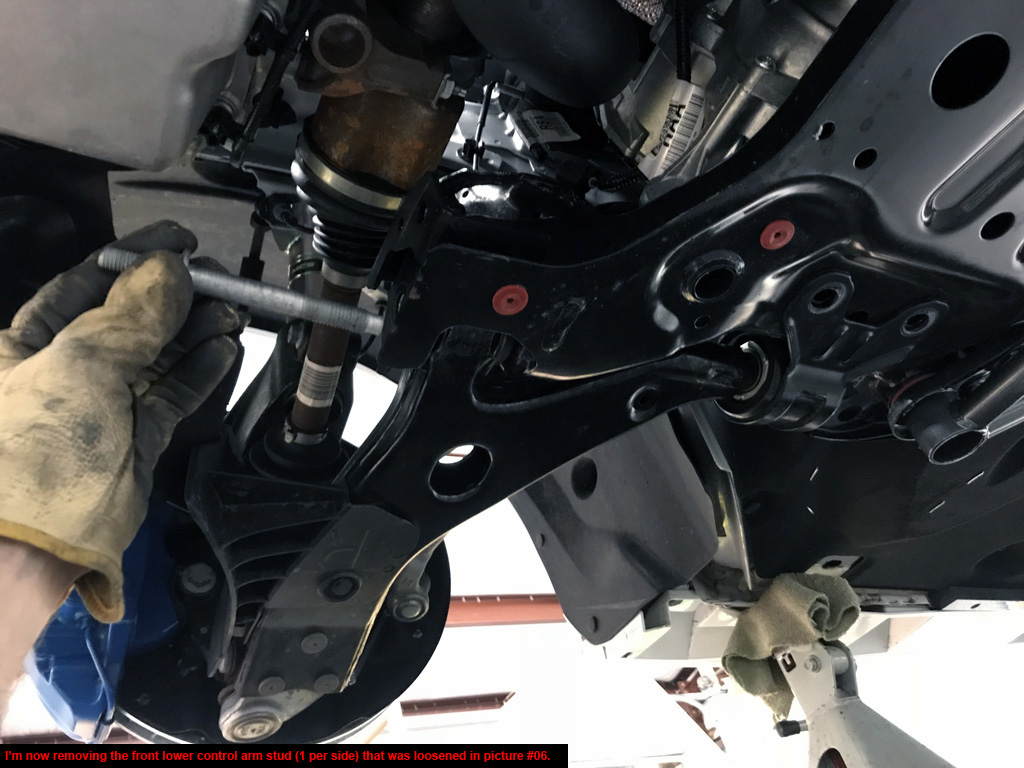
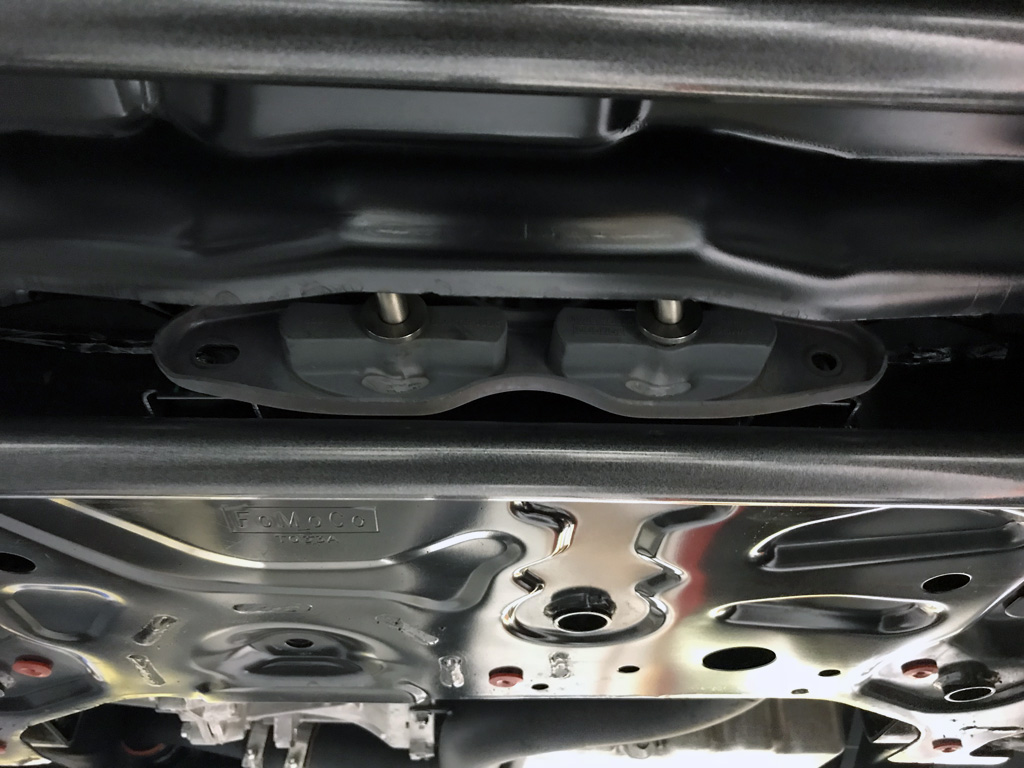
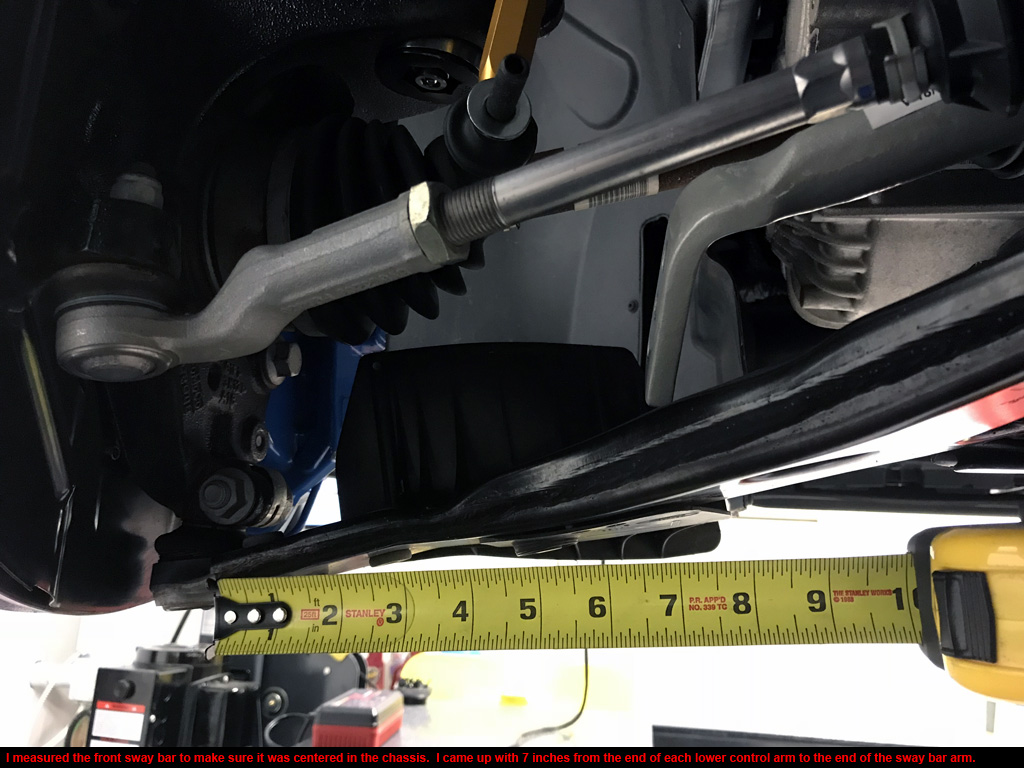
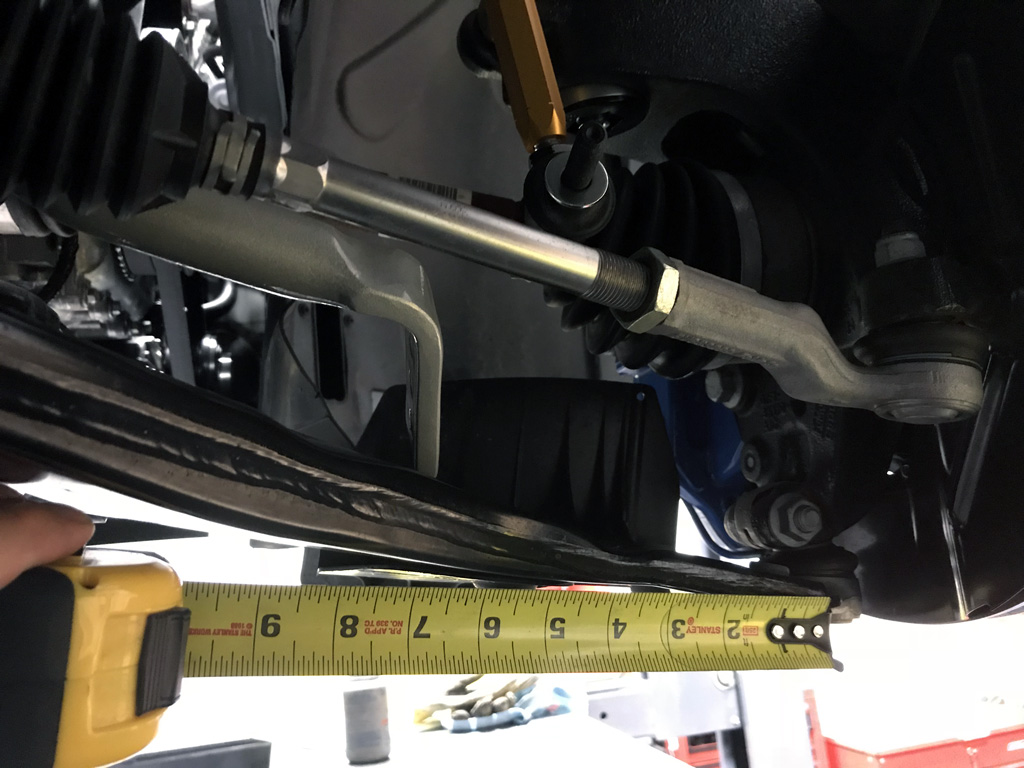
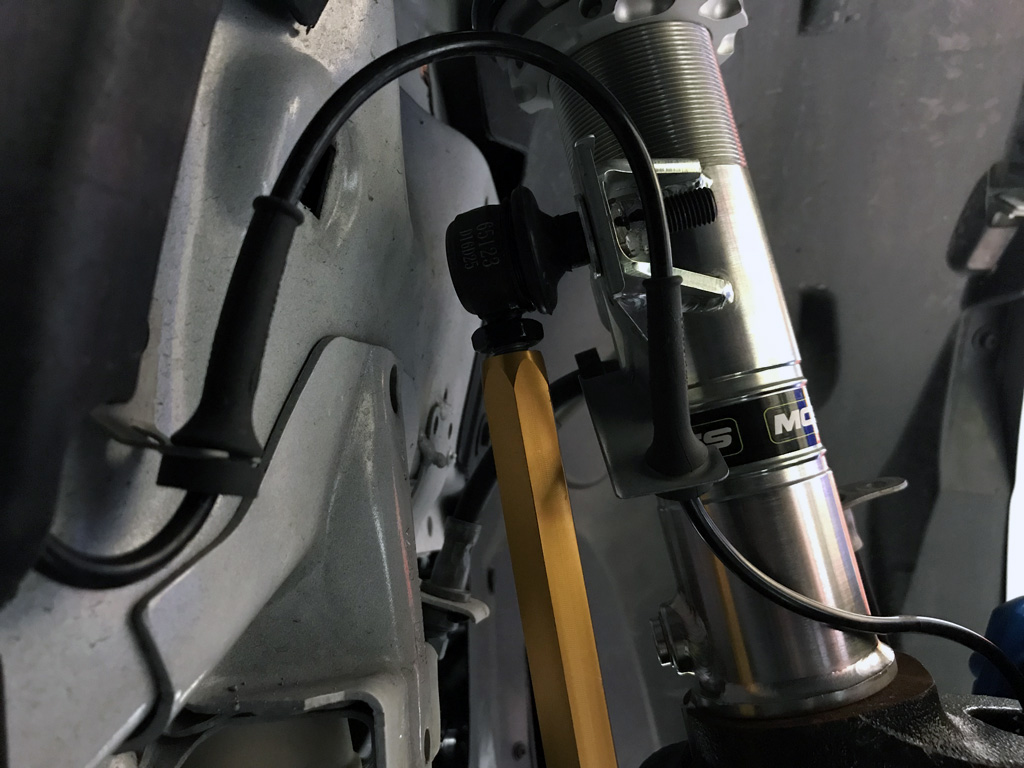
5. Follow along in the pictures for removal/replacement process.
6. Loosen lug nuts before jacking up your RS. Jack up RS. Remove everything. Replace everything.
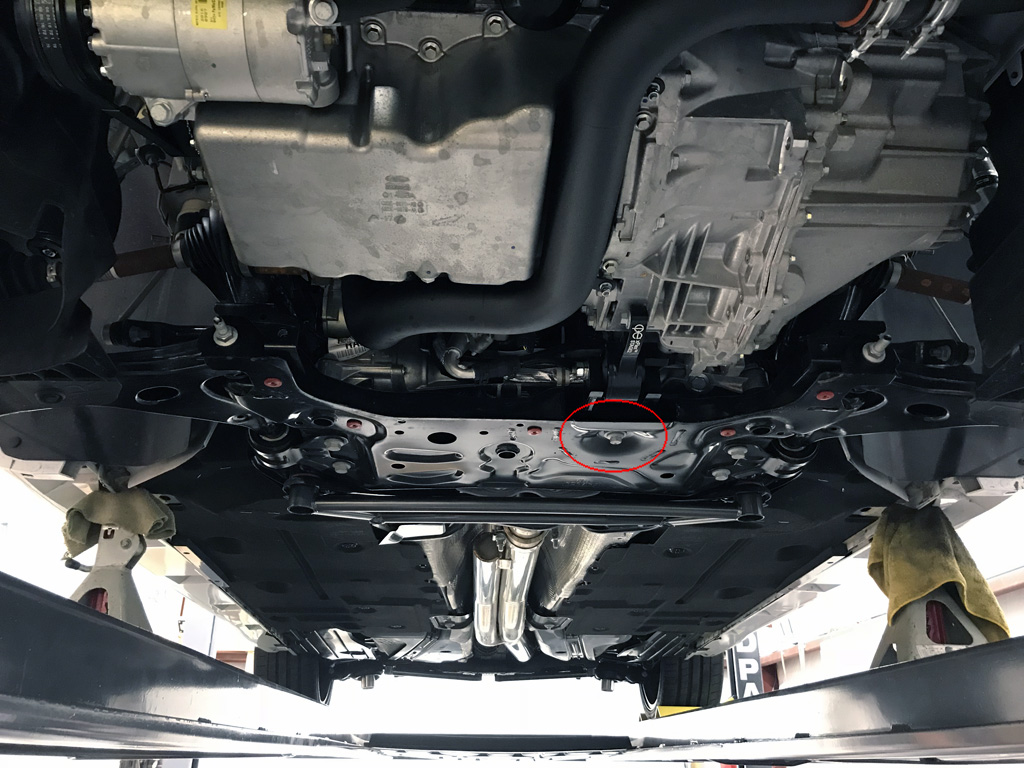
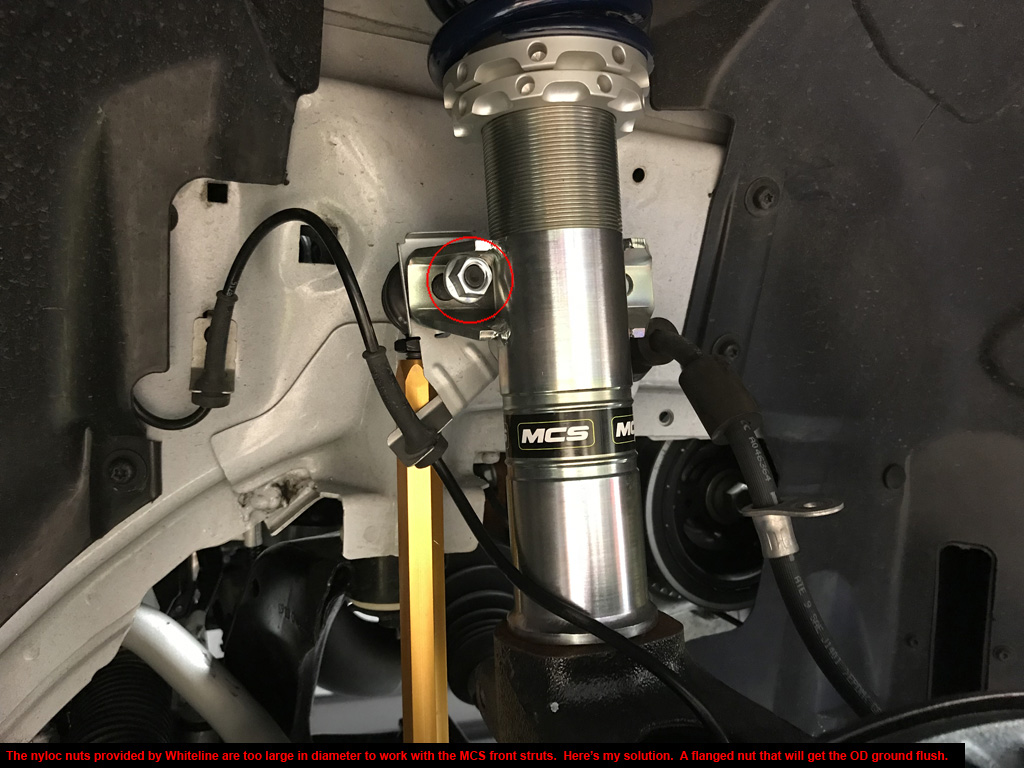
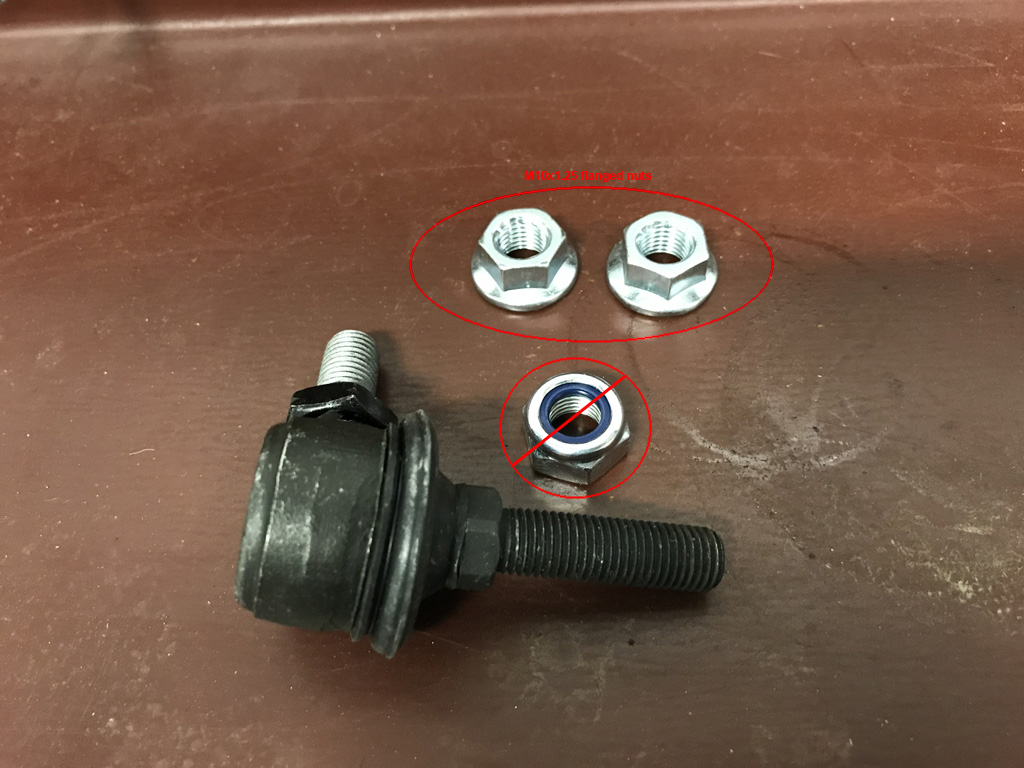
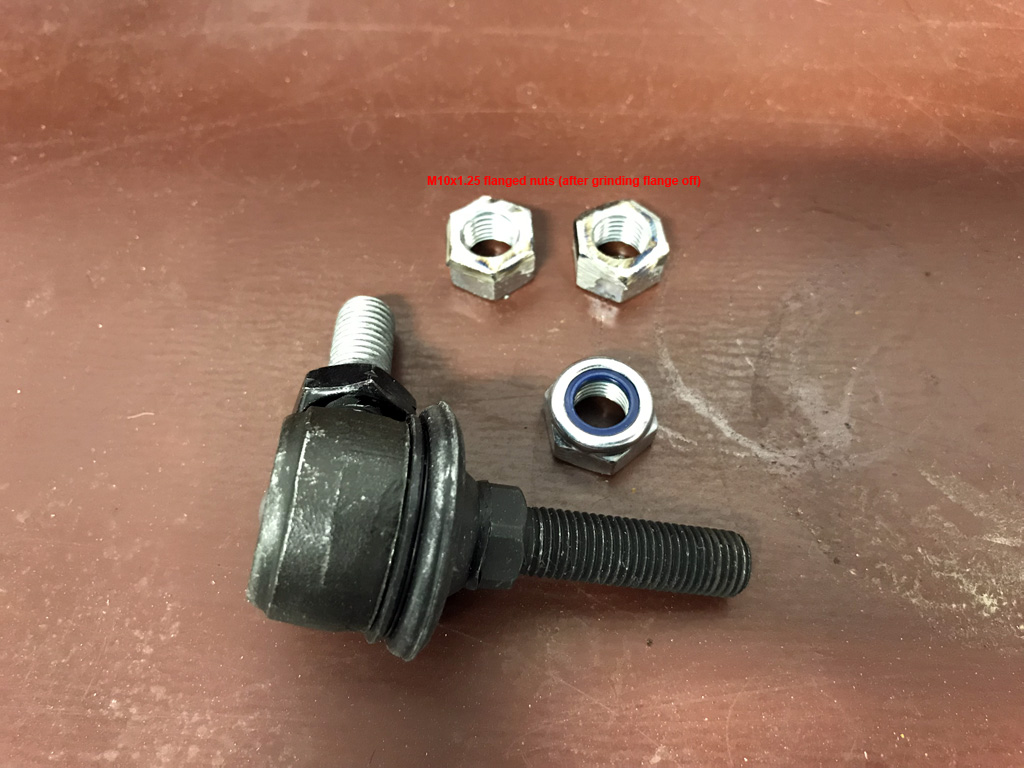
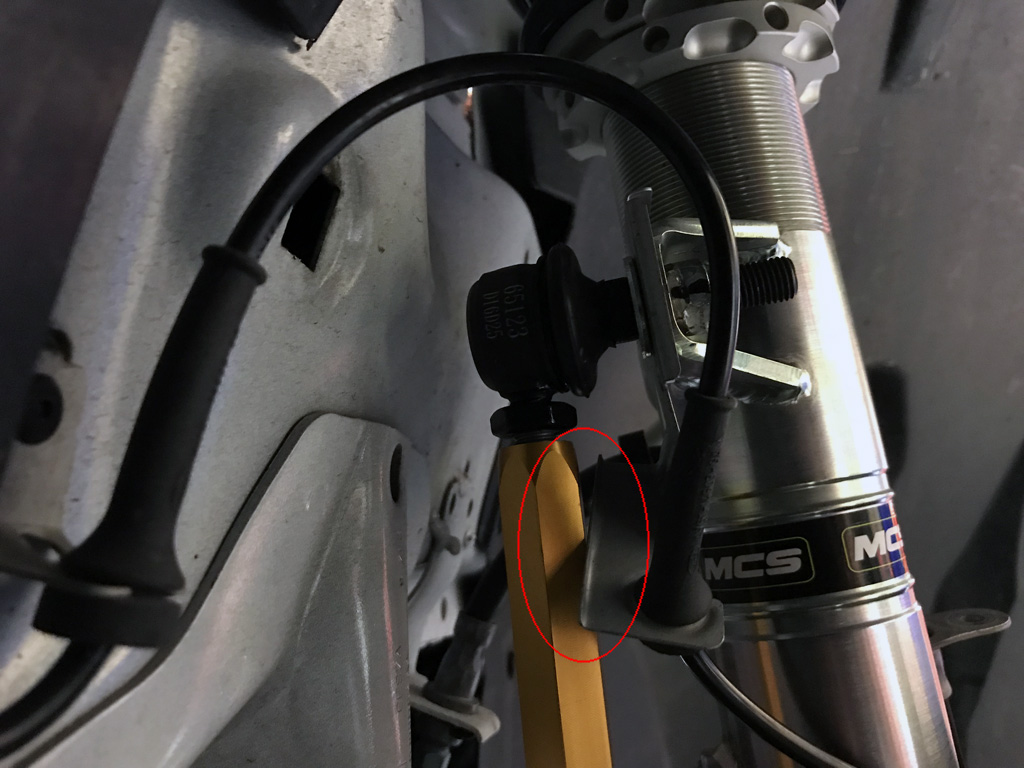
7. Torque specs = 53 lb-ft for (2) end link nuts each side, 100 lb-ft for lug nuts, 80 lb-ft for lower RMM bolt, 85 lb-ft for front subframe through LCA bolts + (4) bushing bolts,
103 lb-ft for (2) bolts through my Pierce subframe brace, 46 lb-ft for (4) subframe brace bolts, 35 lb-ft for (2) small subframe brace bolts.
*Note: I put anti-seize on my front lugs. Reduced my torque to 75 lb-ft (25% reduction due to lubricated threads).
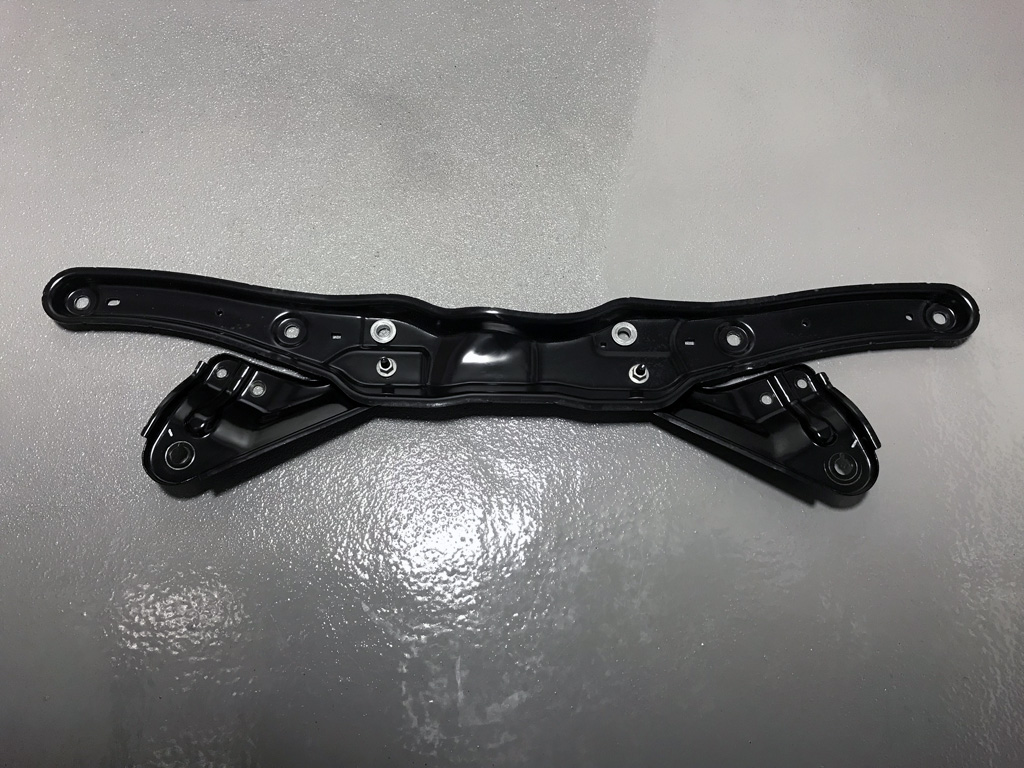
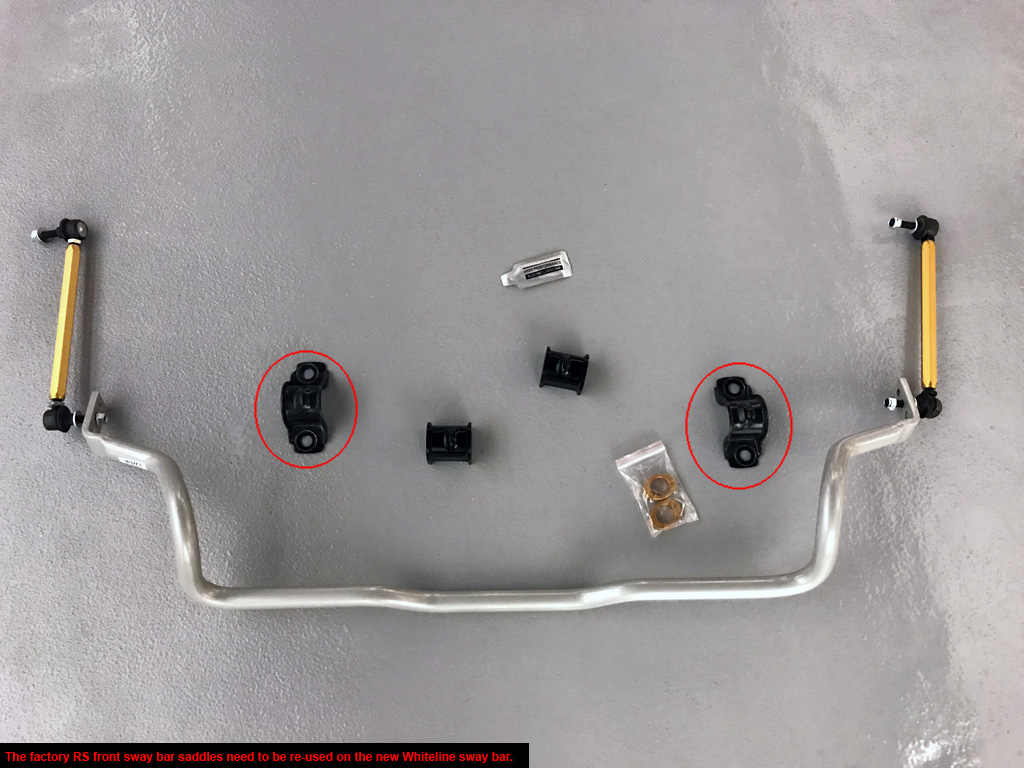
8. Leftover parts = factory front sway bar, endlinks, and bushings.
9. Doesn't look stock! :)
10. Easily reversible back to stock.
11. Weights:
OE front sway bar setup = 9.00 lb.
Whiteline front sway bar setup (including factory front bushing saddles) = 17.00 lb.
Total weight added = 8.00 lb.


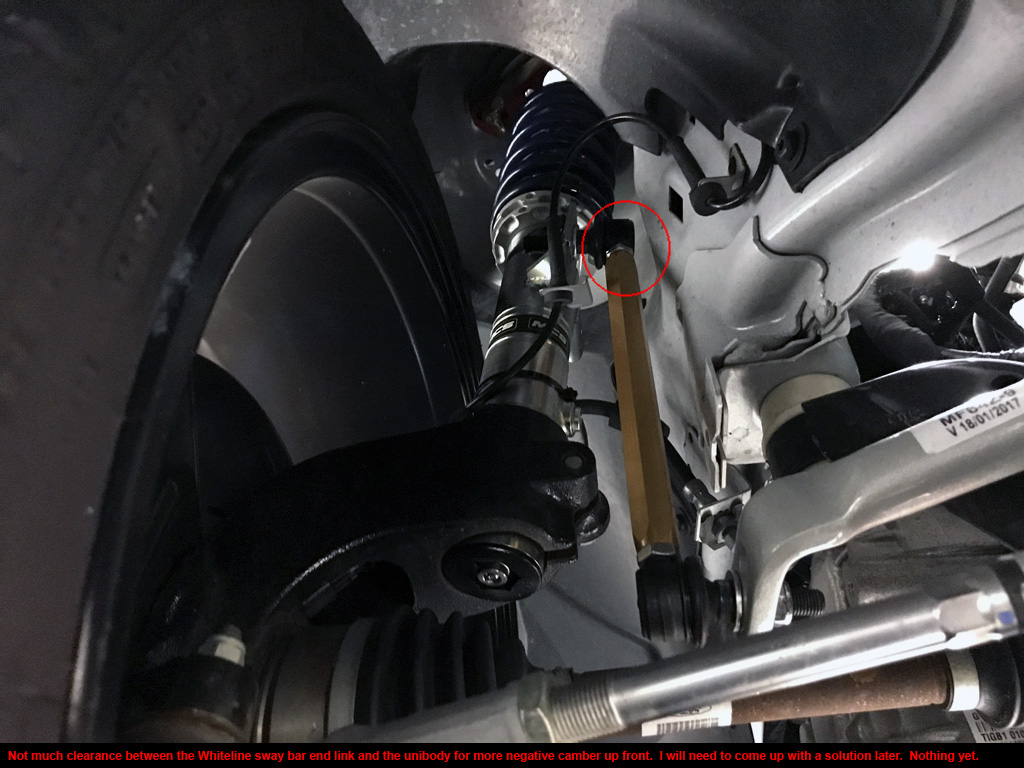
|