
modifications > BatteryMINDer Connector
Why did you install a BatteryMINDer Connector on your RS?
One of my previous modifications was the installation of an Odyssey PC680 battery. Since I don't daily drive my RS I have to keep the battery properly charged while the car is in the garage. The Odyssey batteries are of the AGM type and require a special battery charger. If you connect an unapproved charger you could potentially damage or shorten the life of your Odyssey battery.
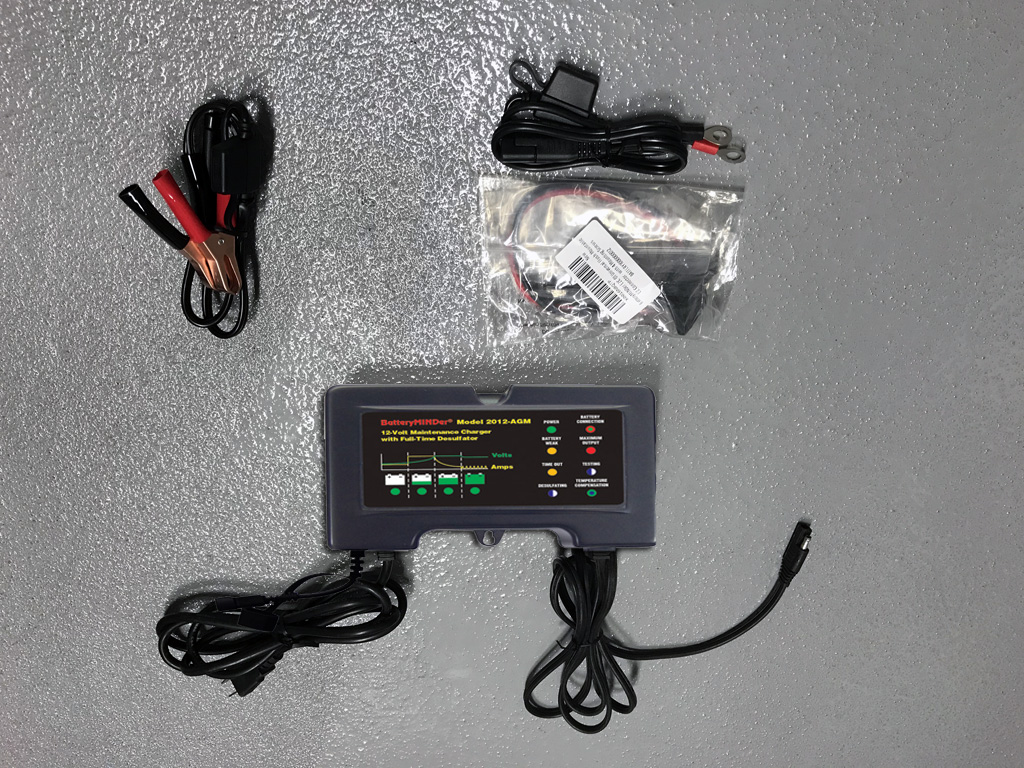
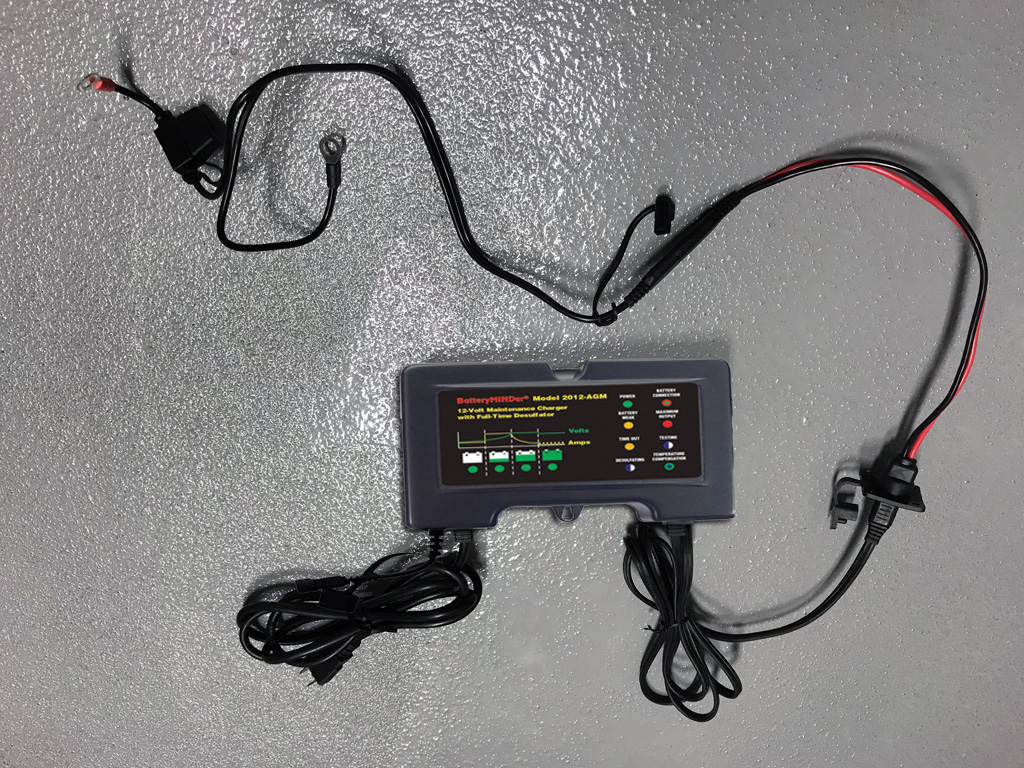
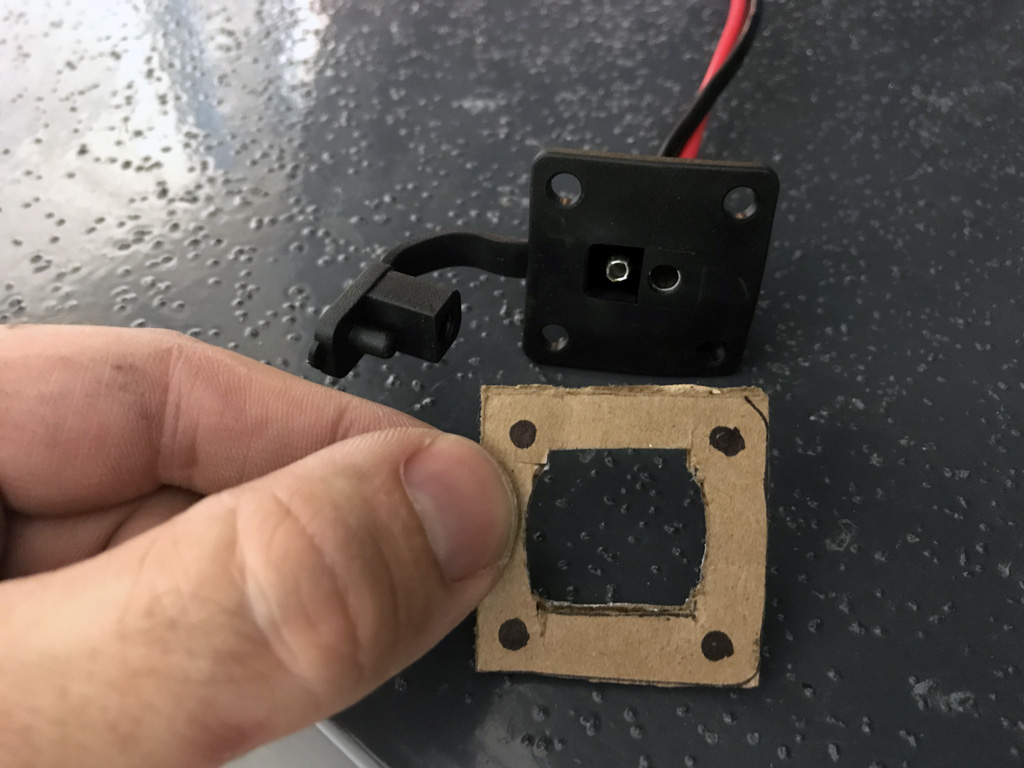
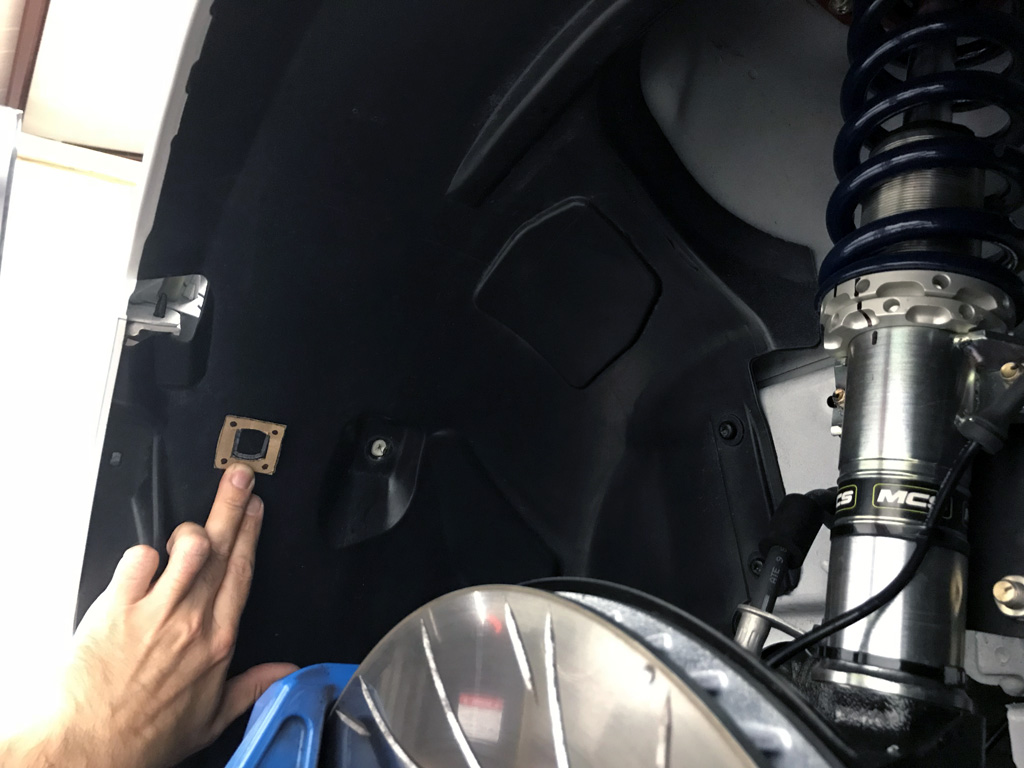
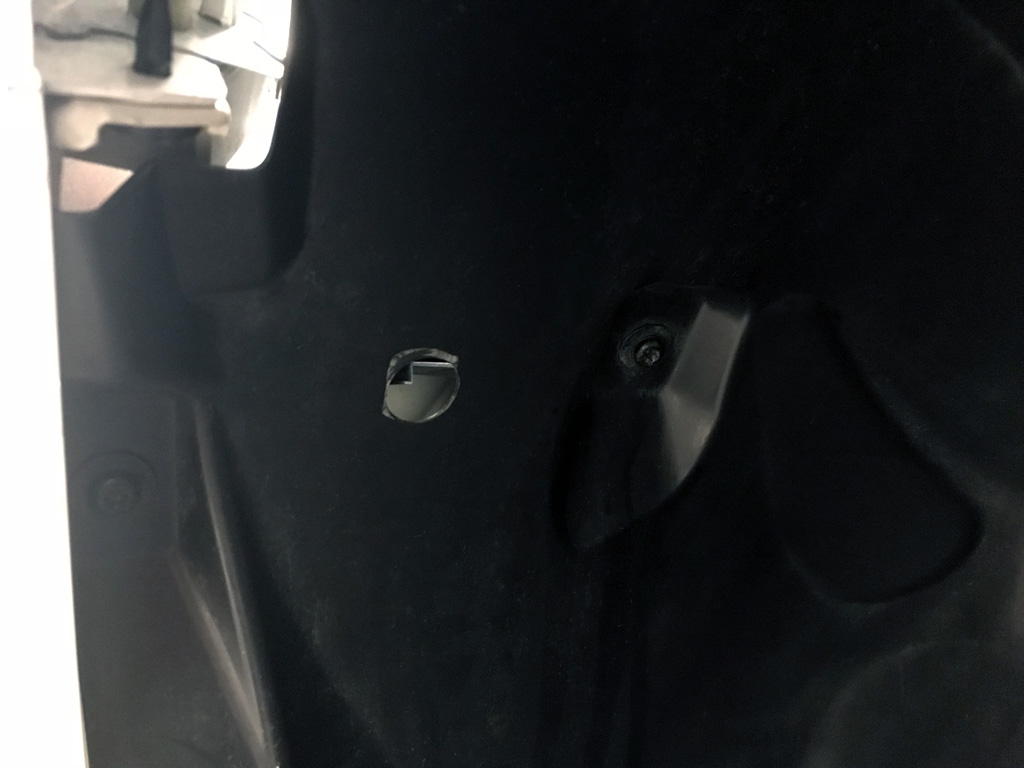
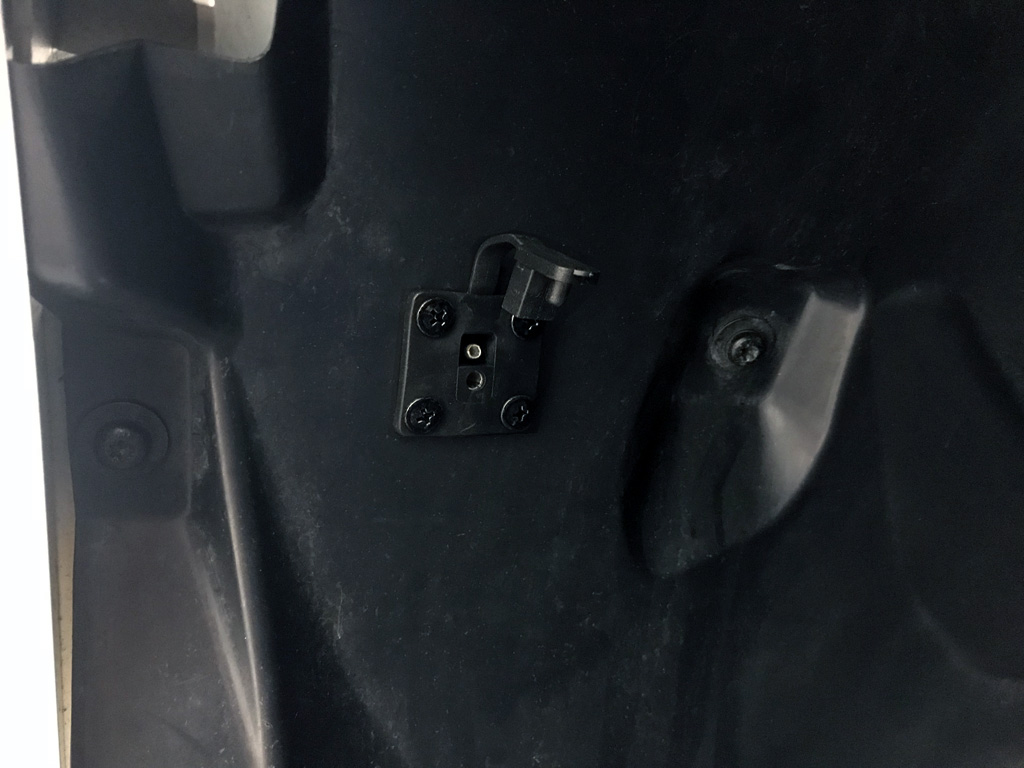
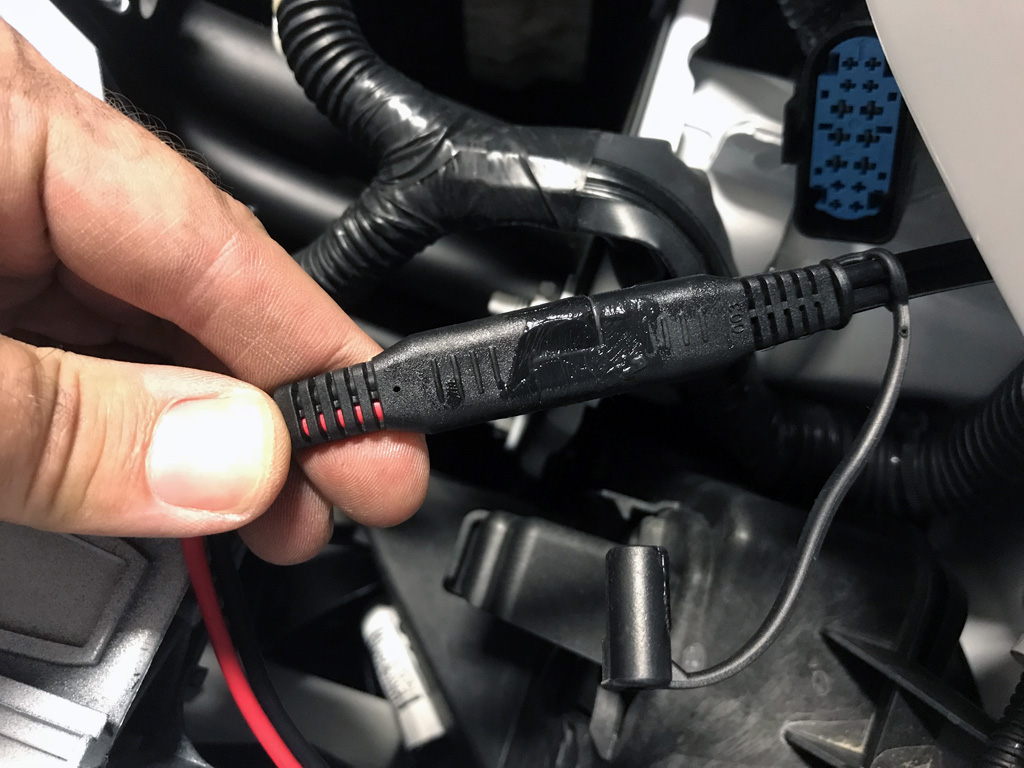
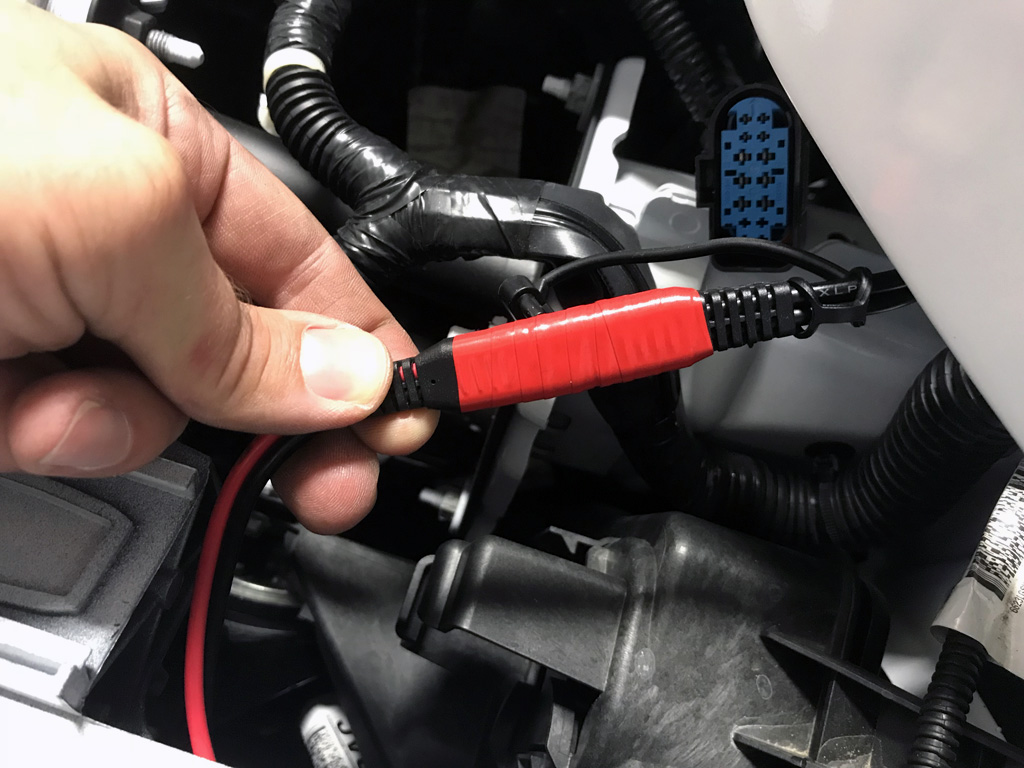
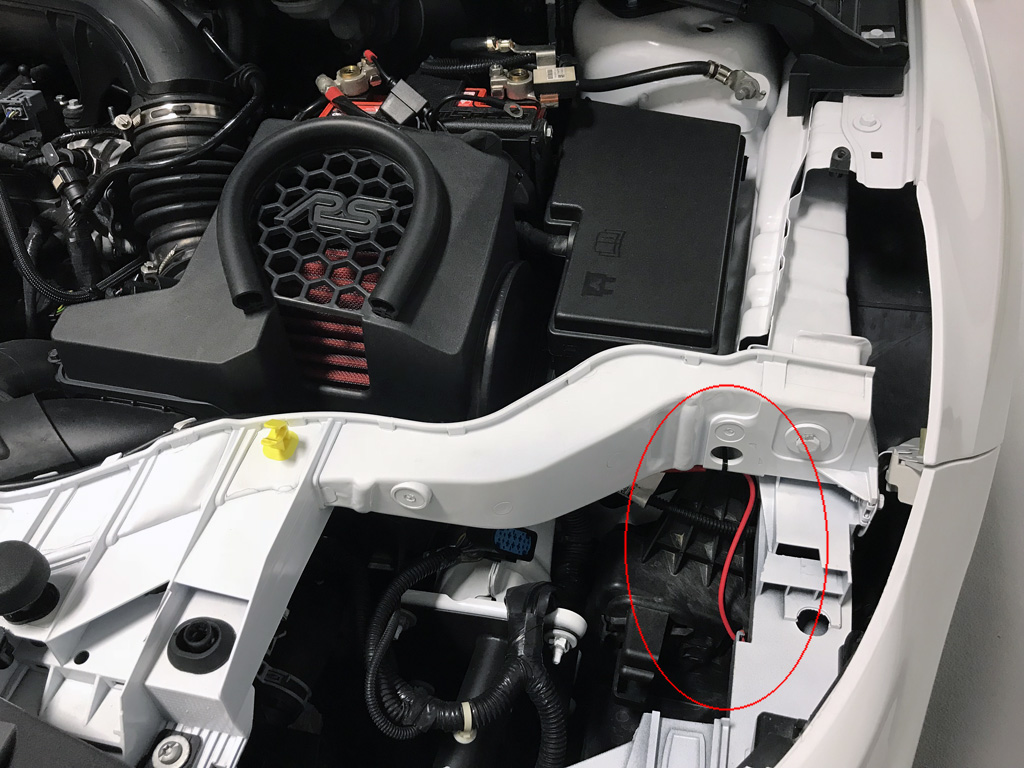
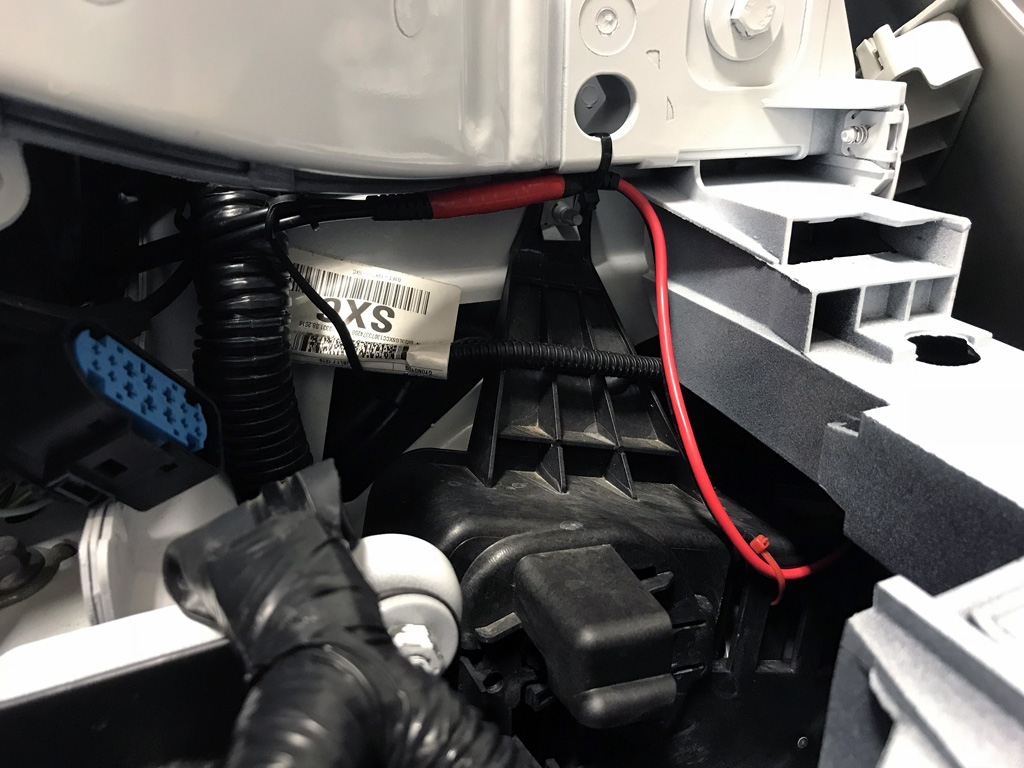
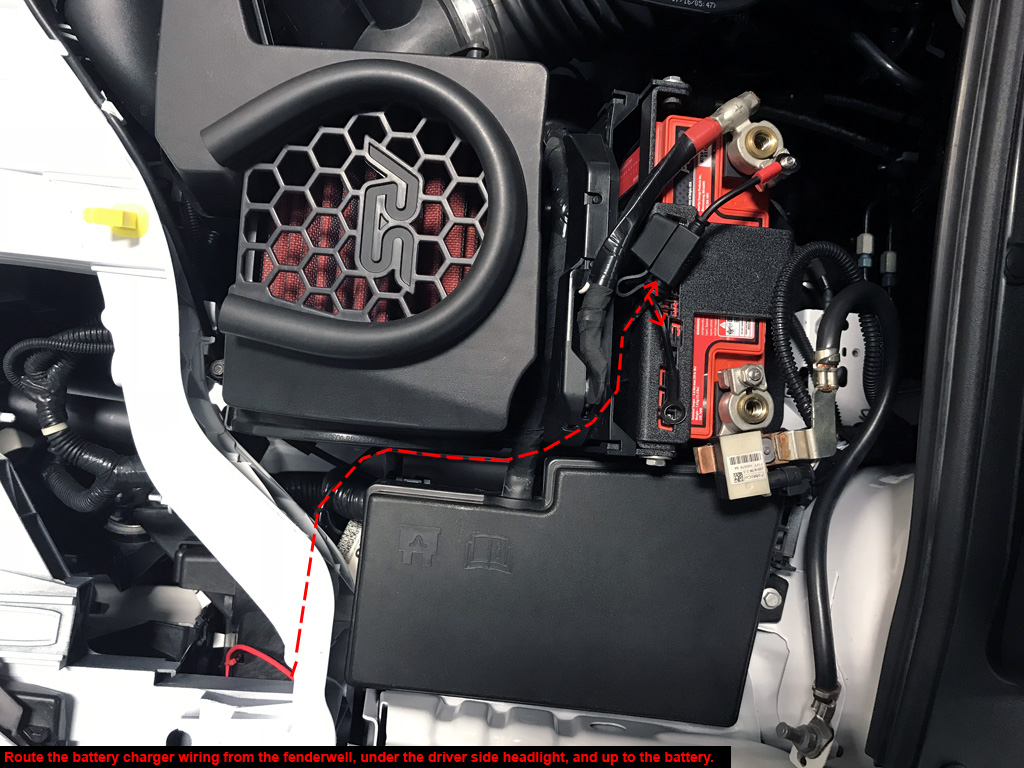
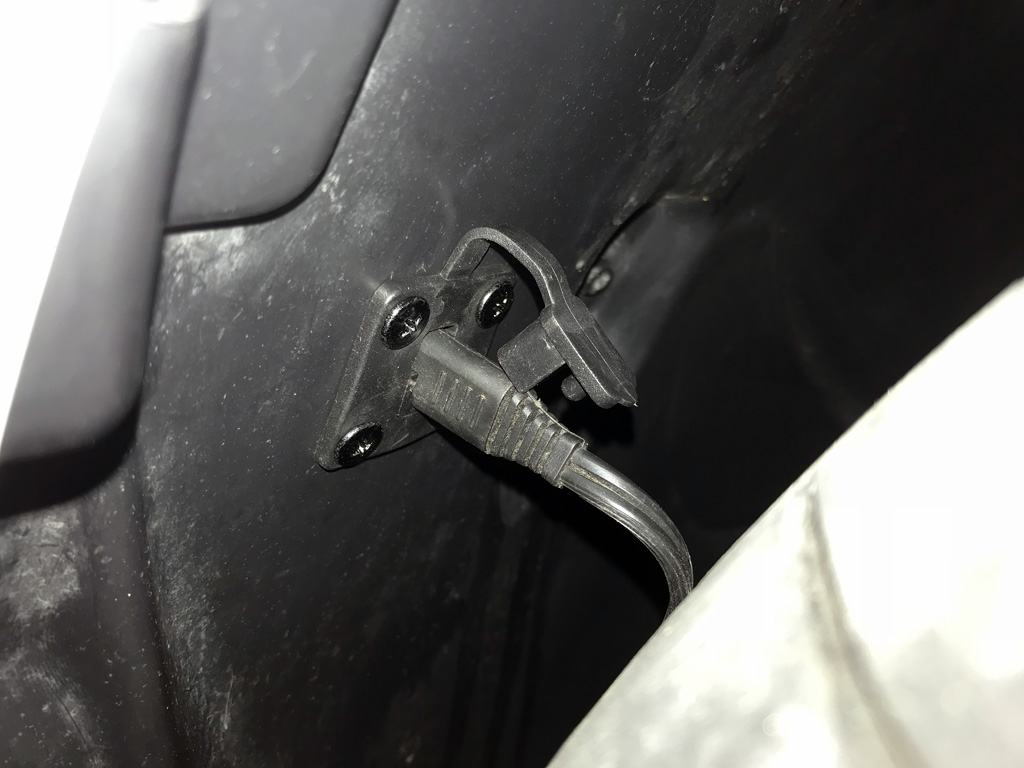
The BatteryMINDer #2012-AGM is one of those approved chargers. In this modification I install a female SAE connector in the fenderwell to quickly connect the charger. No longer do I have to pop the hood and connect the alligator clip charger harness. Just don't forget it's attached and drive away. :)
Date Completed:
07/10/18
Materials:
- BatteryMINDer #2012-AGM Charger/Maintainer/Desulfater (Amazon.com)
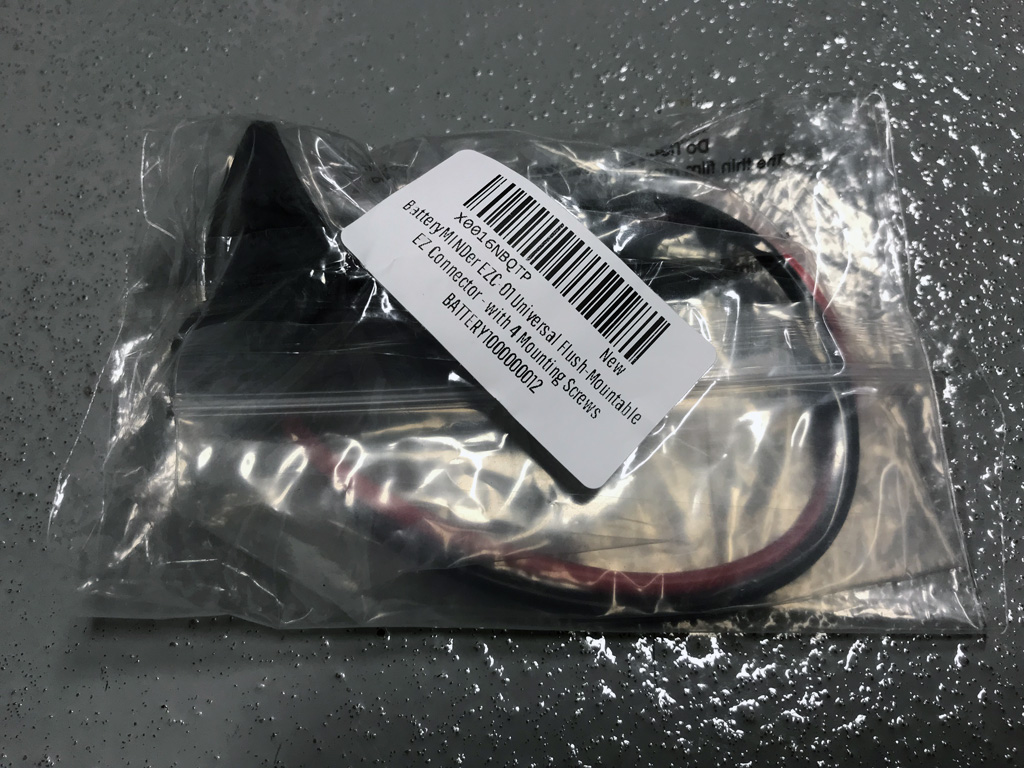
- BatteryMINDer #EZC-01 Flush-mount Connector (Amazon.com)
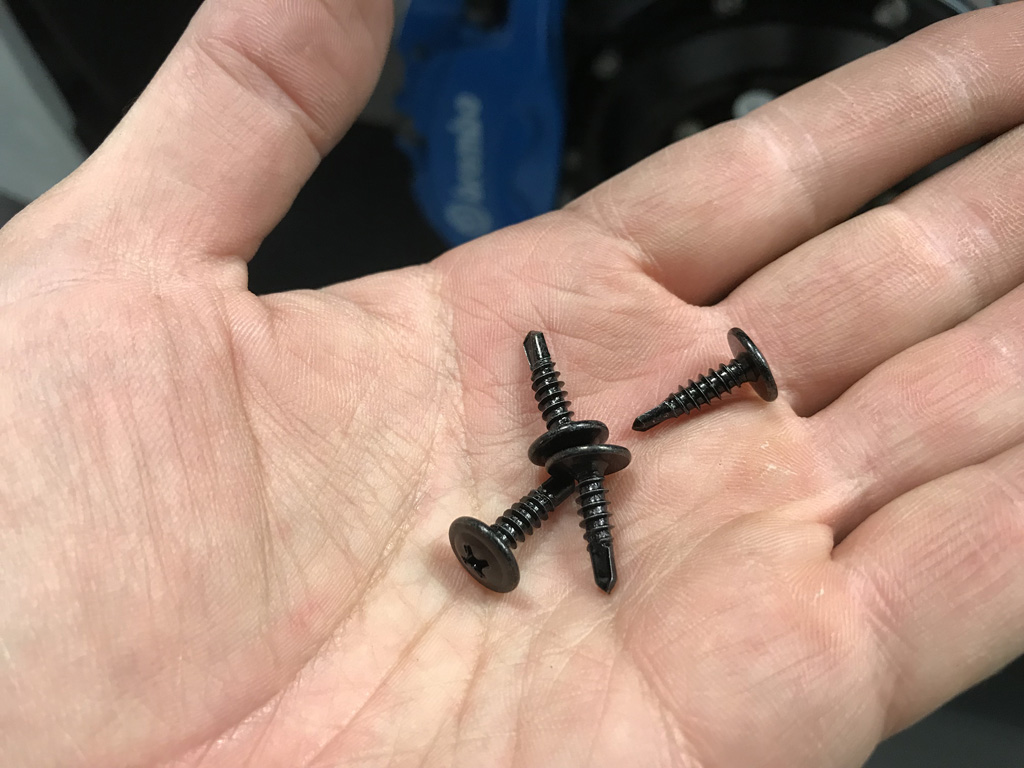
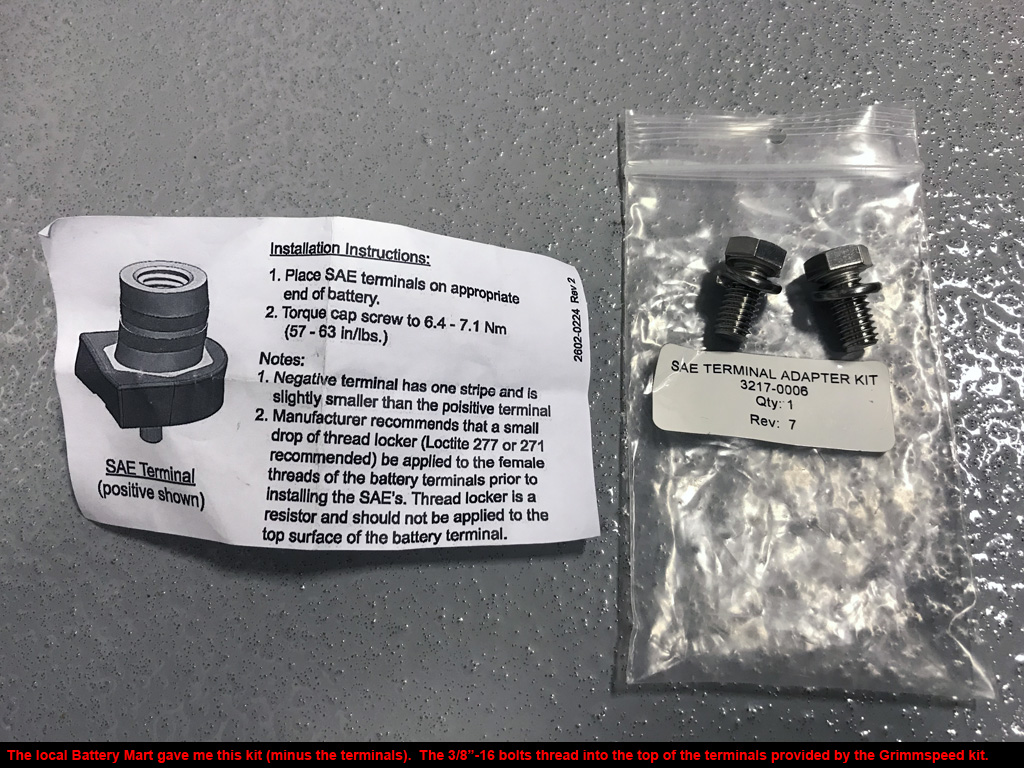
- (2) 3/18"-16 Odyssey Battery terminal bolts (local Battery Mart)
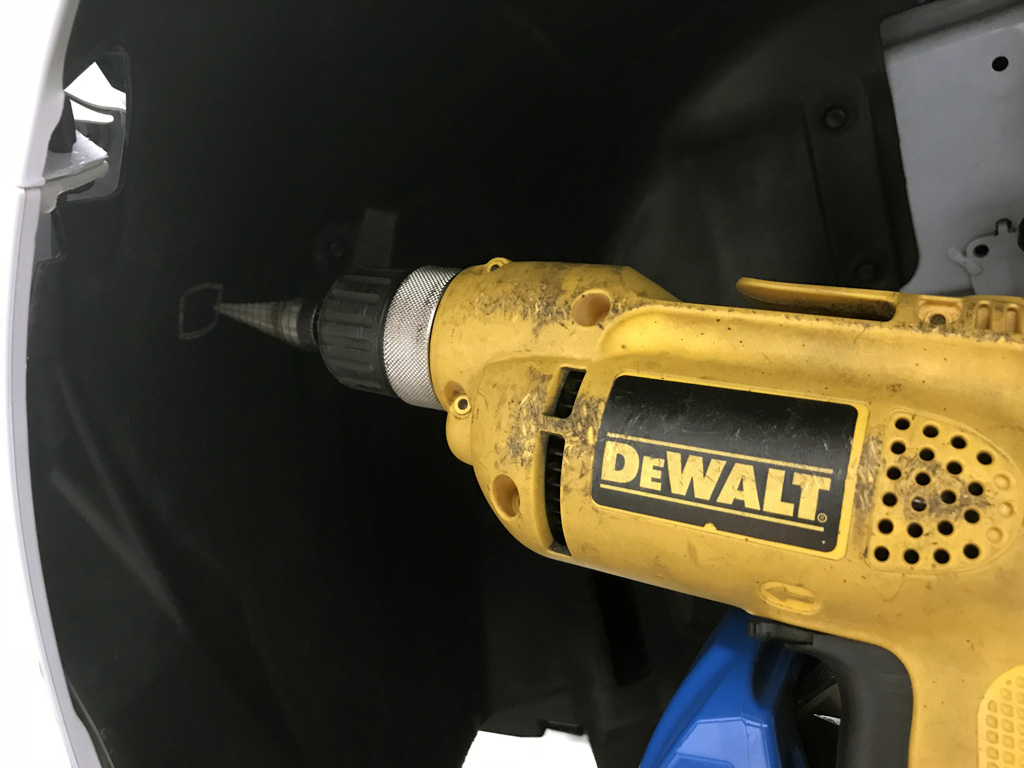
- Scrap cardboard for making a template to drill fender liner
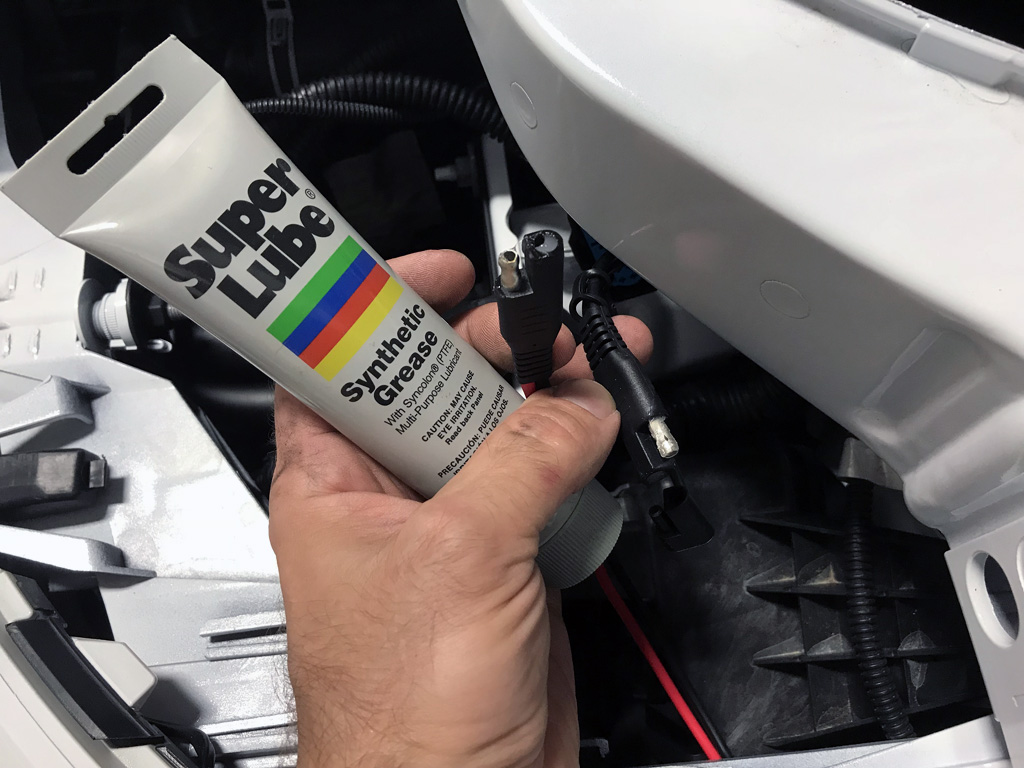
- Super Lube Synthetic Grease
- Several zip ties
- Silver Sharpie
- Red Duct Tape
- Sweet Tea (optional)
Tools:
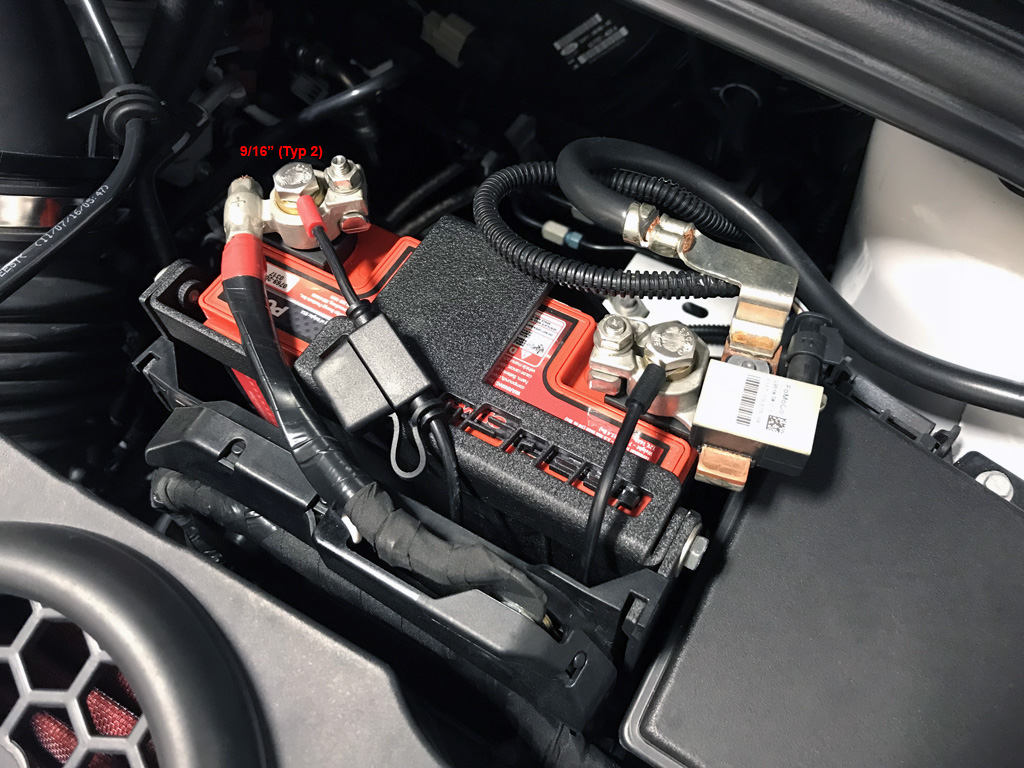
- 3/8" & 1/2" drive ratchets, short extension, and various sockets (T30, 9/16", 19mm)
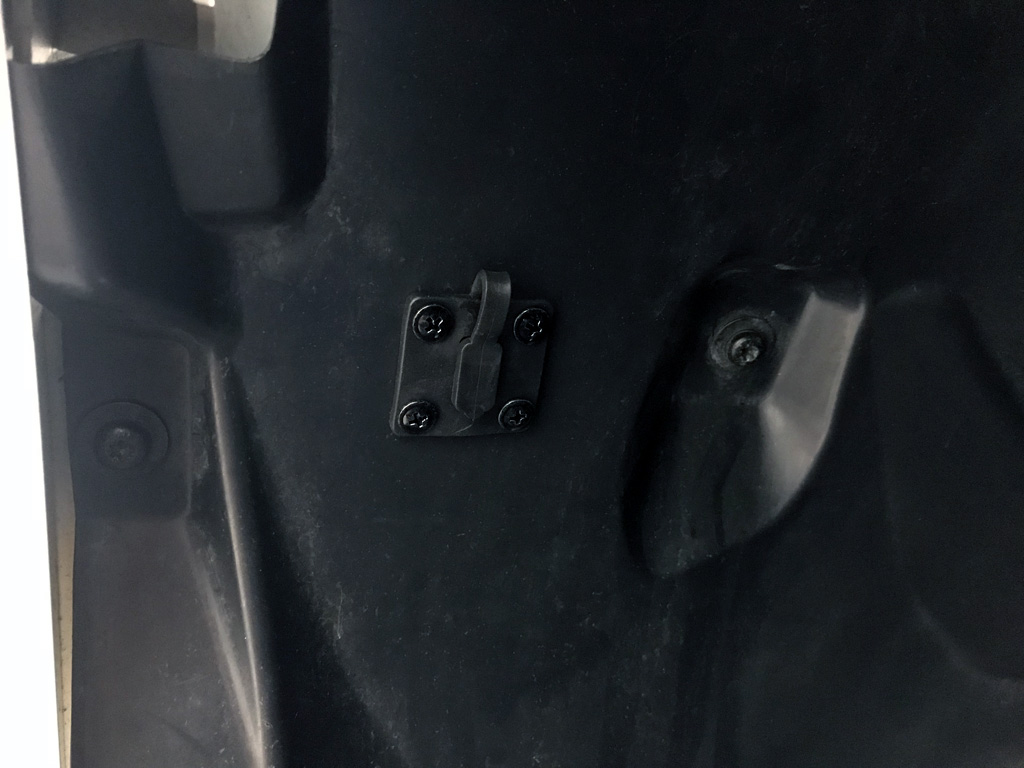
- Phillips screwdriver to install Flush-mount Connector
- Flat blade screwdriver to remove (1) fender liner clip
- 1/2" Torque wrench (75 lb-ft)
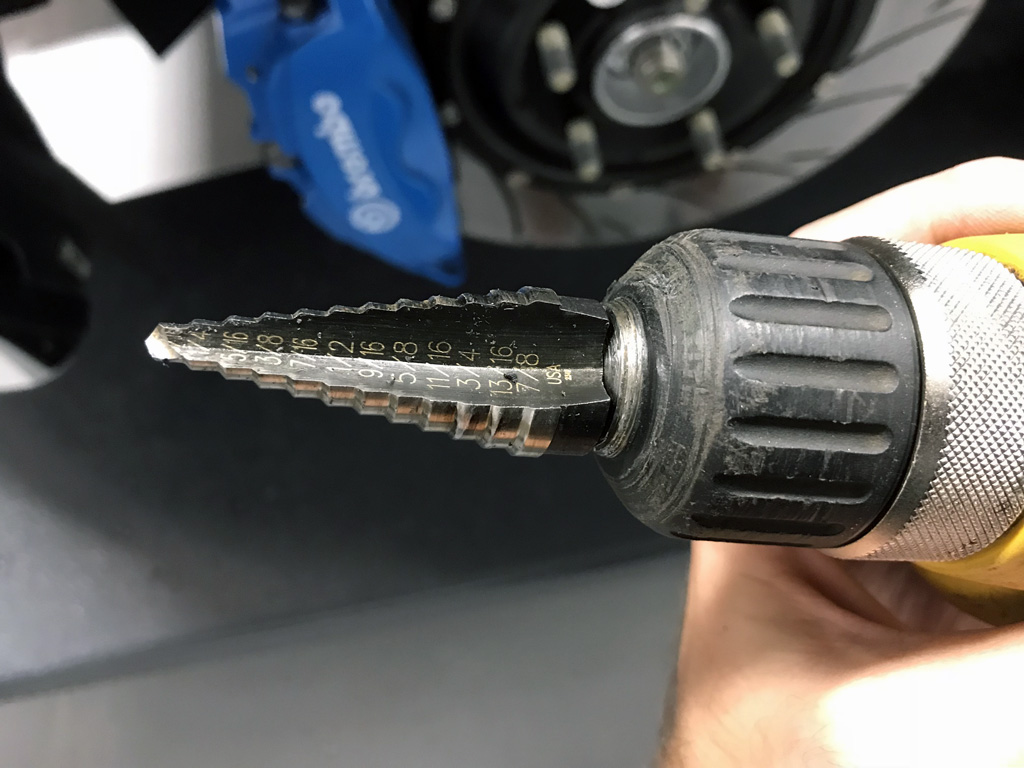
- Drill and 7/8" step bit
- Jack & Jack stand
- 9,000 lb 4-post lift (optional, but highly recommended!)
*A friend for moral support is always optional. If friend isn't available Pandora will suffice.
Notes:
1. Install takes an hour or less. I took my time because of taking pictures for this website.
2. Undertray removal is not required.
3. Follow along in the pictures for removal/installation process.
4. Removal of the driver side front wheel/tire required.
5. Removal of driver side headlight assembly required.
6. (1) wiring plug needs to be disconnected/reconnected for this installation = Driver side headlight.
7. Loosen lug nuts before jacking up your RS. Jack up RS. Remove everything. Replace everything.
8. Torque specs = 100 lb-ft for lug nuts.
*Note: I put anti-seize on my lugs. Reduced my torque to 75 lb-ft (25% reduction due to lubricated threads).
9. Not reversible back to stock (hole in the fender liner).
10. Yes, I know this adds weight to my RS. I have more weight reduction plans. :)
|